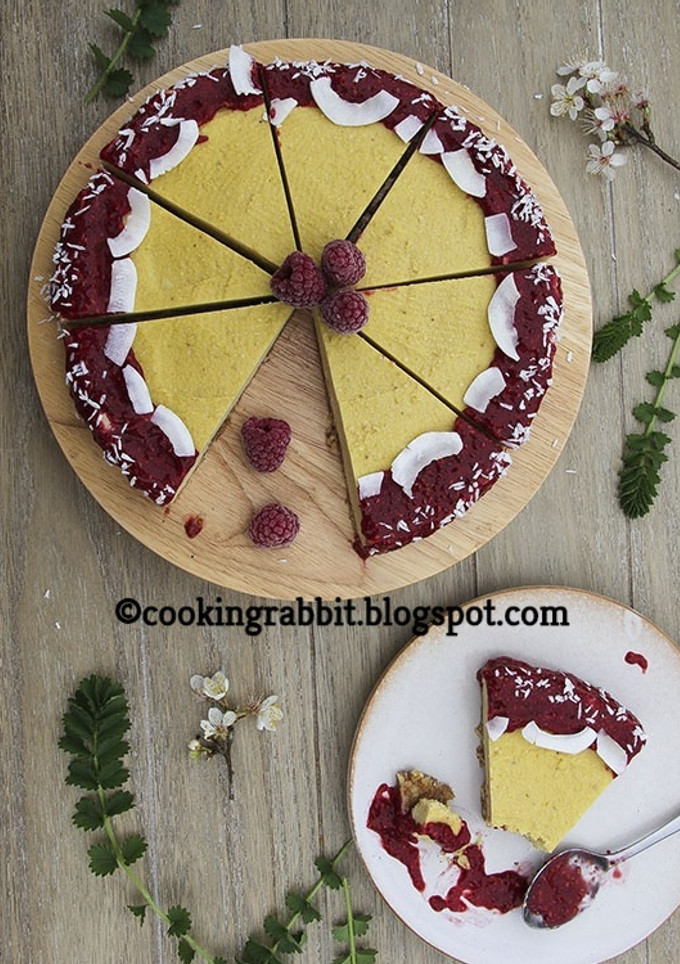
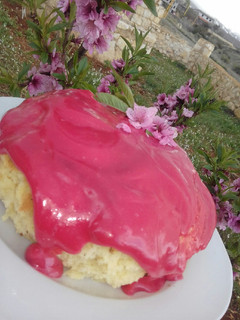
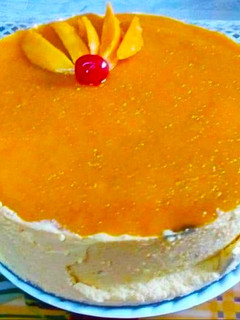
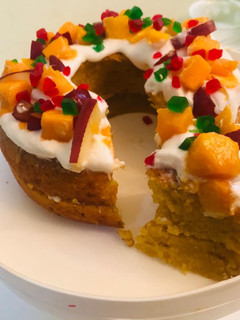
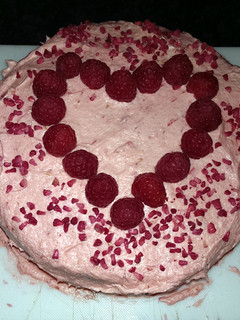
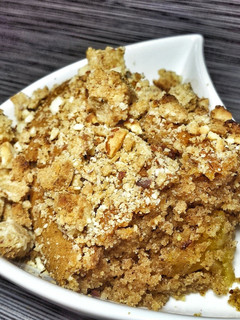
Mango cake with raspberry sauce
Mango cake recipes suitable to accompany your weekend. The ingredients are easy to find. This cake is also very easy to make without the need to be bake and gluten free naturally. Sweet only with fresh fruits and a little maple syrup. You should try it.
Cooking Instructions
- 1
IN ADVANCE: Soak the cashew nuts in water for at least an hour (several hours or even overnight is fine too). Drain them before use (you will use them in the top layer).
- 2
BASE LAYER: Use a food processor to grind the almonds down to a meal. It's fine if this meal is a little rustic with tiny pieces, rather than finely ground.
- 3
Add the vanilla extract and maple syrup until everything comes together. This mixture should stick together nicely between your fingers when pressed.
- 4
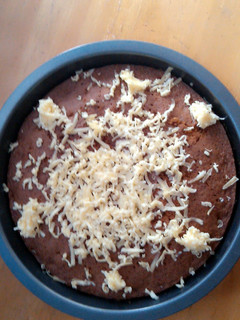
Line a round tin or container with parchment paper and compact the mixture down very firmly to create a 'crust' base layer. Pop it in the fridge whilst you make the next layer.
- 5
TOPPING: Finely chop the creamed coconut. Pop all of the ingredients into the food processor and blend thoroughly until there are no pieces and everything is evenly combined.
- 6
Spread the top layer on evenly.
- 7
Pop it in the freezer for at least an hour. If you have time, then leave it for a few hours so it firms up really well and slices nicely.
- 8
SAUCE (OPTIONAL): Blend all the sauce ingredients together and pop in the fridge or simply leave on your kitchen counter.
- 9
The chia seeds will start to expand and act as a gelling agent over the next half hour. Stir two or three times during this period.
- 10
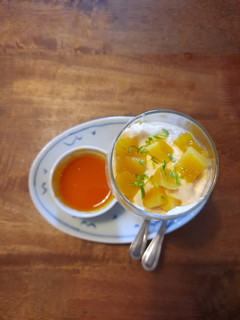
TO SERVE: Take out of the freezer, slice with a sharp, heavy knife.
- 11
Pour or dollop on some of the raspberry chia sauce if desired.
- 12
Allow a few minutes before eating (to soften it a little, since it's just come out of the freezer).
- 13
This keeps well for a couple of months in the freezer.
Reactions
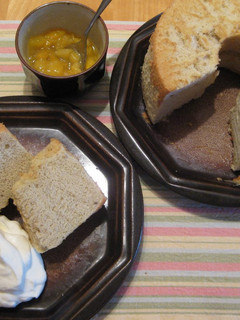
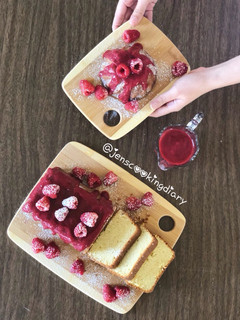
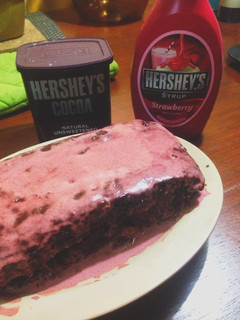
Cooksnaps
Did you make this recipe? Share a picture of your creation!

Written by
Similar Recipes
Banana Chiffon Cake with Mango Sauce
Vanilla Pound Cake with Raspberry Sauce
Choco-Berry Moist Cake With Strawberry Sauce

Chocolate cake with chocolate sauce
كايكة الزبيب وجوز الهند بالصوص الزهر
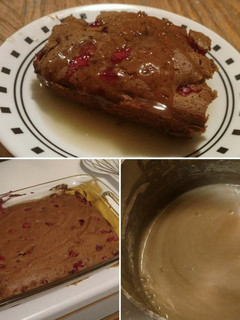
Cranberry Cake with hot 'butter cream' sauce - Gluten/Dairy Free
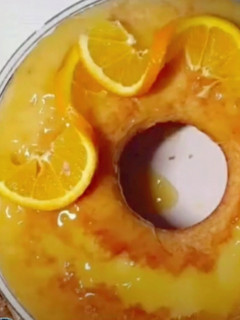
كيك البرتقال 🍊 مع الصوص هشه وخفيفة
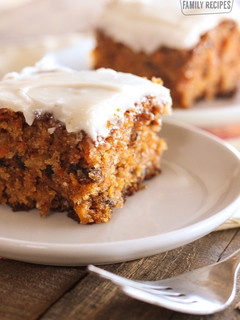
Healthy Carrot Cake with Yoghurt Sauce เค้กแครอทซอสโยเกิร์ต หม้ออบลมร้อน
เค้กใบเตยครีมซอสมะพร้าวอ่อน(หม้ออบลมร้อน) #เบเกอรี่ง่ายๆ
Mango Mousse Cake
Mango cake
Mango Mousse Cake
Mango Cake
Torta al mango

Cookie cake with mango glaze
Mango Semolina Cake
Mango sago lava cake (chiffon cake)
Mango mousse with fresh mango and passionfruit sauce
Mango Cake with Cheese on Top
Raspberry Chocolate Mousse Cake
Vanilla Panna Cotta with Raspberry Sauce

Raspberry Almond Coffee cake

Torta soffio cocco e mango
Sophie's lemon and raspberry cake
Raspberry-White Chocolate Cream Cake
Coconut and raspberry loaf cake
Upside Down Mango Cake
Mango Apple Peach Crumble Cake with Almond Crumble Crust
Chocolate Roll Cake with Pink Raspberry Cream


Comments