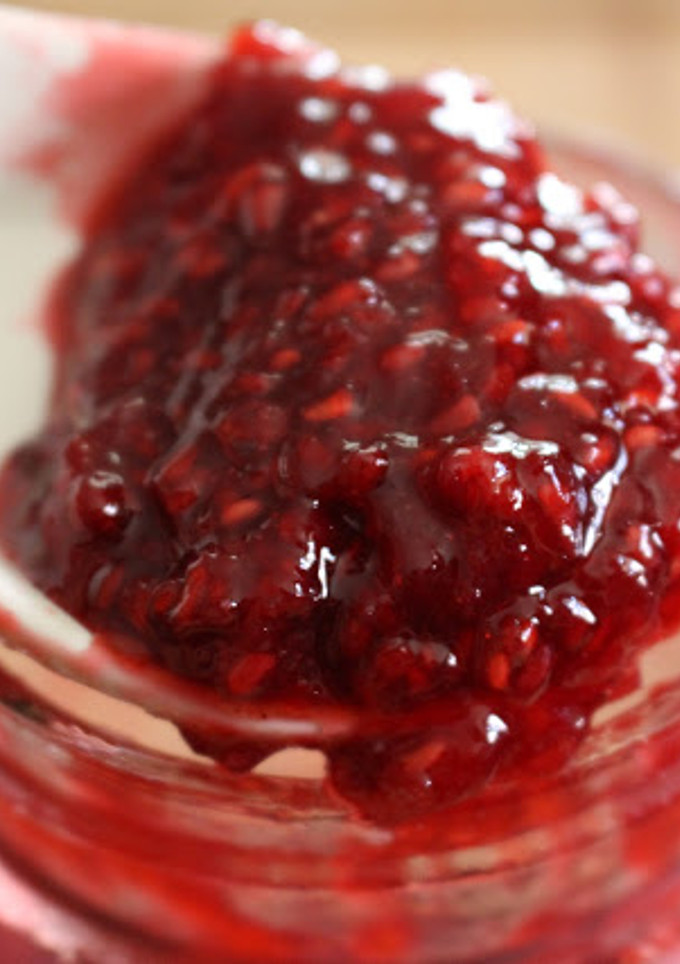
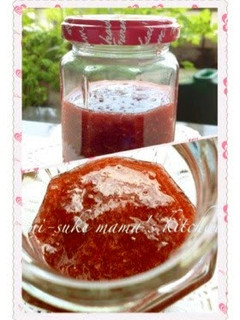
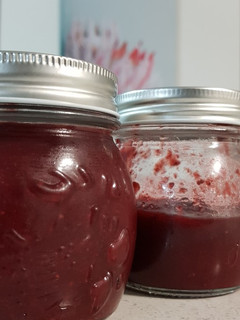
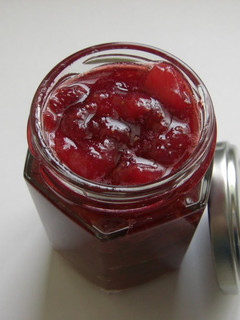
Small Batch No-Canning Raspberry Lemon Jam
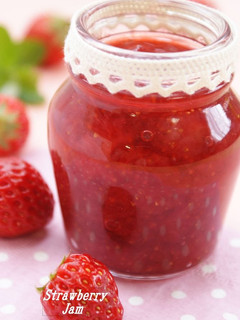
While canning can get a little involved, just making a small batch of jam is simple and easy. I've already discussed that a bit here on my No-Canning Strawberry Jam:
https://cookpad.wasmer.app/us/recipes/2453113-no-canning-strawberry-jam
Just some basic guidelines to apply to the making of any fruit jam that'll also come in handy for this recipe.
Someone asked me the other day what the difference is between a jam and a preserve. My take on it is that jam is really just a subset of preserves, preserves including any number of preparations intended to make raw ingredients last much longer without spoilage than they would otherwise. Generally speaking, all jams are preserves, but not all preserves are jams.
Would you be wrong to call this a raspberry preserve? Am I wrong to call this a raspberry jam? Not in my book. ;)
Cooking Instructions
- 1
Put all the ingredients into a pot (starting with 2/3 cups of sugar), stir to distribute the ingredients, and put the pot, uncovered on medium low heat until all the sugar melts and the mixture just starts to bubble. (Usually takes just under 10 minutes for me.)
- 2
Turn the heat down to low and simmer, uncovered, for 35 to 45 minutes, stirring occasionally. If you can scrape fruit solids off the cooking surface of the pot, your heat's too high. It's better to err on the side of lower heat and longer cook time than to cook the fruit to the point that it begins to stick to the bottom of the pot. Just a little of that mild burn can alter the whole batch in a way you might not like so much.
- 3
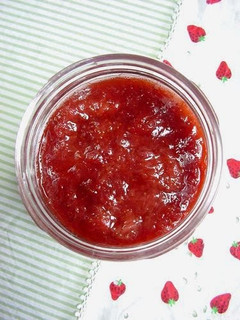
About halfway through the simmer, take a potato masher or a fork and mash the berries to release some more of their natural pectin and to get the jam to the consistency you like. If you like more whole fruit, less mashing, but give it a few good mashes just to aid the natural thickening.
- 4
Check the sweetness 10 minutes before the jam is done to adjust and add more sugar if needed.
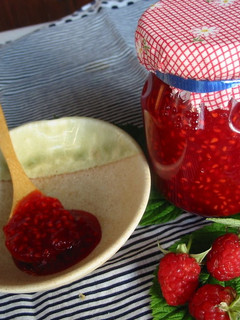
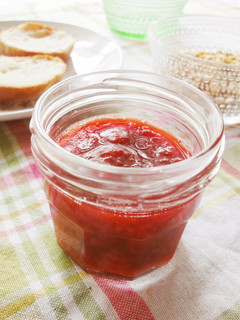
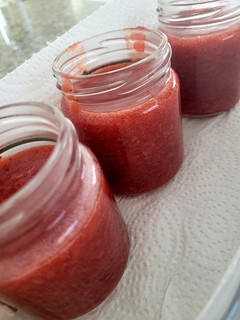
Because I like my jam texture something like a thick compote (it's more versatile that way - I can eat it over ice cream, or with yogurt), I don't add pectin or gelatin, and I stop the cooking when the jam has the texture of a thick stew. When it cools, it'll thicken even more, but it won't have that solid gel texture of a storebought jam.
- 5
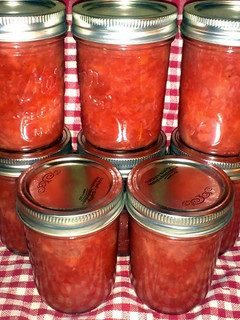
Then just put your jam in a clean and well-dried tight lidded container (doesn't have to be glass), cool completely uncovered, then cover and refrigerate. It'll keep fine for at least a good 6 to 8 weeks.
Reactions
Cooksnaps
Did you make this recipe? Share a picture of your creation!

Written by
Similar Recipes
No Canning Strawberry Jam
Easy Strawberry Jam
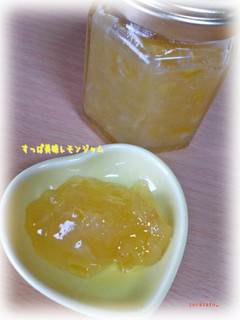
Easy Lemon Jam

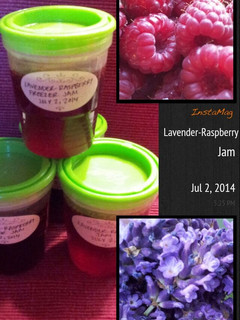
Lavender Raspberry Jam
Easy Cranberry Jam
Homemade Strawberry Jam
Raspberry Jam
Frozen Strawberry Jam
Easy Blueberry Jam
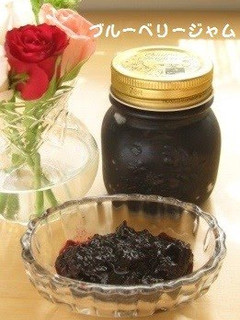
Easy Blueberry Jam
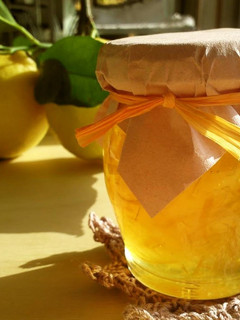
Lemon Jam
Tart and Delicious Lemon Jam
Light Strawberry Jam
For Novice Jam Makers: Strawberry Jam
Microwave Low-Sugar Strawberry Jam
Strawberry Jam (No Pectin)
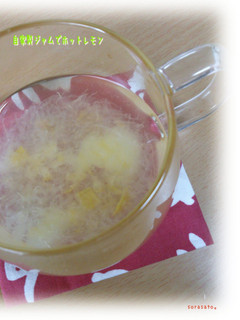
Hot Lemon Drink Using Homemade Jam
Only 3 Ingredients Fresh Strawberry Jam
Crushed Strawberry Jam
Beginner-Friendly Easy Strawberry Jam
Seasonal Apricot Jam
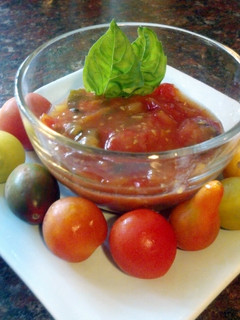
Tomato Basil Jam

Seasonal Kumquat Jam
Reduced Sugar Peach Jam
Gooseberry and ginger jam
Suprisingly Easy Apple Jam
![A picture of [Farmhouse Recipe] Tangerine Jam.](https://img-global.cpcdn.com/recipes/5708582503841792/240x320cq90/photo.jpg)
[Farmhouse Recipe] Tangerine Jam
Tomato Basil Jam

Elderberry Jam

Comments