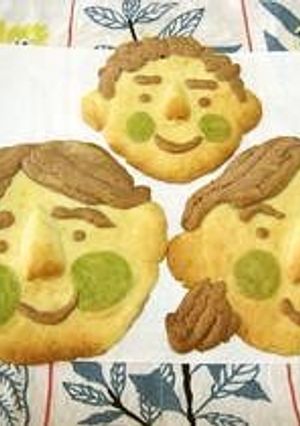
Amusing and Very Easy Face Cookies
For my mum's birthday I tried this for the first time. It was fun and easier than I thought. At the time, I made it carelessly and they were more like biscuits than cookies. So, I tried again with icebox cookie dough!
To make desserts, it is important to weigh the ingredients precisely and do every step carefully.
When making the cocoa dough, it's easier to cut when it is thin, so you can cut it with a knife.
If you make them in summer or with the heater on, the dough softens quickly. Make use of your fridge! For making 3 faces and about 10 normal-sized cookies. Recipe by Ohisama taiyou
Steps
- 1
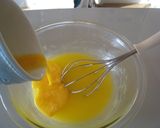
Put margarine in a heatproof dish and microwave for about 30 seconds in a 700W microwave. Add sugar and egg and stir with a whisk.
- 2
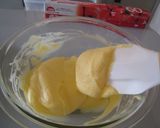
Once it's slightly thickened, chill in the fridge for 5 minutes to thicken the mixture. It is ready.
- 3
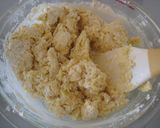
Add flour and mix with a spatula gently. Avoid over mixing, leaving a little flour unmixed.
- 4
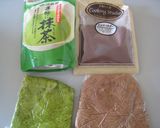
Divide the dough and mix in the colouring ingredients. Do not over mix. This is not play dough!
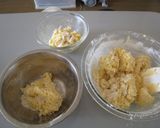
- 5
Divide the dough for the face, nose, and ears separately with cling film and chill. Leave to rest in the fridge for 15 minutes. Roll out the dough 2 cm thick. We will roll the dough out later.

- 6
Flatten the coloured dough over the cling film and chill in the freezer! Roll to more than 5 mm thick and it will be easier to handle.
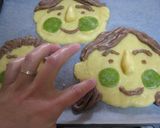
- 7
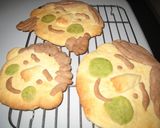
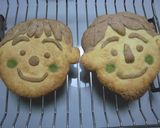
Make the face. Stick a nose and ears to each face. Make the hair and eye brows with dough coloured with cocoa powder. Use green dough for the cheeks. The thickness of the layered dough should be 1 to 1.5 cm.
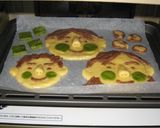
- 8
Press the layers of dough down lightly. Put on the bottom shelf in a 340F/170C oven and bake for 20 minutes. Bake the leftover dough as well.
- 9
Bake for about 15 minutes while keeping an eye on it. After baking, leave to cool on a rack.
- 10
These were made for Valentine's Day. Every time I make them, I can create different looks on the faces. I like it.

- 11
These Valentine's Day cookies look like they got some sun.
Cooksnaps
Did you know that you can import recipes from anywhere into Cookpad with one click?
https://blog.cookpad.com/us/cookpad-recipe-import-feature-save-recipes-from-anywhere/
Download Cookpad app to plan your meals and store your cooking ideas in one safe place! https://cookpad.wasmer.app/us/download
Keywords
Similar Recipes
More Recipes
-


-


-


-


-

Rosemary, Herbal, Refreshing Masala Tea, Fresh Rosemary, for Good Health

-


-

crock pot cream cheese chicken

-

100% Healthy Banana Oatmeal Muffins
 ellie.haferman
 -


-


-


-

-

Anytime Cookies -- Quick & Easy!
-

Make Corn Soup-Flavored Okara Cookies in the Microwave
-

Make-at-Home Ramen Jiro Regular Version
-
")
Magic Custard Cake (in pressure cooker)

-

Easy and Pretty Lollypop Cookies
-

The Taste of Fall--Matsutake Mushroom Rice
-

German Christmas Cookies: Butter Plaetzchen


Comments