Authentic home cooking from Japan, with US measurements.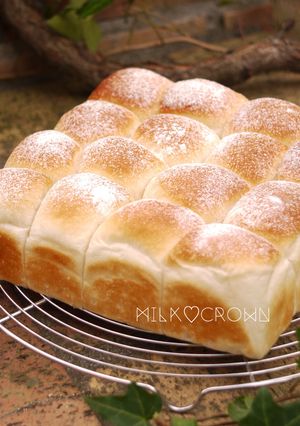
Honey Milk Pull-Apart Bread (Bread Machine)

Recipe with video! You can make this quickly with ingredients you probably already have at home. It’s super easy.
About this recipe:
I wanted to bake this the night before so I could enjoy pull-apart bread with a smile in the morning, so I baked it over and over. I’m still experimenting with it.
Honey Milk Pull-Apart Bread (Bread Machine)
Recipe with video! You can make this quickly with ingredients you probably already have at home. It’s super easy.
About this recipe:
I wanted to bake this the night before so I could enjoy pull-apart bread with a smile in the morning, so I baked it over and over. I’m still experimenting with it.
 Open in Cookpad App
Steps
- 1
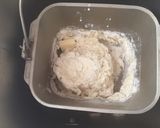
Add all the ingredients to your bread machine and start the dough cycle. If your machine has a separate compartment for yeast, add it there.
- 2
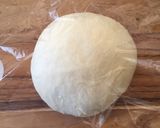
Once the dough is ready, shape it into a ball, cover with plastic wrap, and let it rest for 10 minutes.
- 3
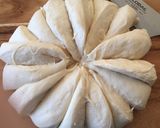
Cut the dough into 16 equal pieces using a knife.
- 4
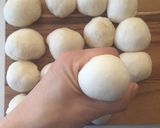
Press each piece firmly with your hand to release any air, then shape into balls. Let the dough rise for the second proof, making sure to press out any gas inside.
- 5
Pinch the bottom of each ball to seal.
- 6
Line a baking pan with parchment paper and arrange the dough balls inside.
- 7
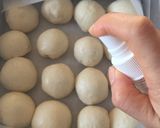
For the second proof, lightly mist the dough with water and let it rise in an oven or microwave with a proofing function at 104–113°F (40–45°C) for 30–50 minutes.
- 8
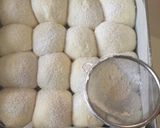
When the dough has doubled in size and fills the pan, it’s ready. If you like, sift a little extra bread flour or all-purpose flour over the top using a fine mesh strainer.
- 9
Bake in a preheated oven at 355°F (180°C) for 12–13 minutes.
- 10
Once baked, cool the bread on a wire rack.
- 11
Time to pull apart and enjoy!
So good!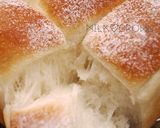
- 12
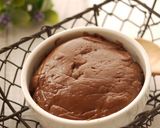
Chocolate custard is also a delicious filling. See Recipe ID: 19450978.
- 13
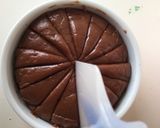
Divide the custard into 16 portions.
- 14
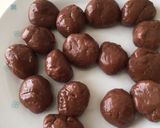
Shape each portion into a ball by hand.
- 15
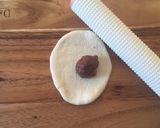
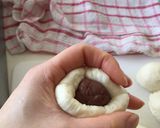
If adding chocolate custard, during step 3, roll out each dough piece with a rolling pin, place the custard in the center, and wrap it up.
- 16
Wrap the filling tightly so the cream doesn’t leak during proofing. Place the seam side down in the pan.
- 17
Proof and bake as above.
- 18
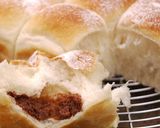
With chocolate custard filling—delicious!
- 19
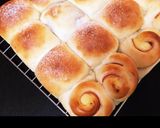
User Ritto made variations with chocolate, sweet red bean paste, plain, and ham & mayo. They all look amazing—I want to try every kind!
- 20
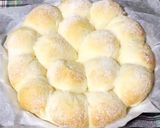
Many people have shared their own variations. Check out their reports for inspiration! It also looks great in a round pan—thanks to yumin930!
- 21
You can let the dough rise slowly at room temperature if you prefer. Since this recipe has a lot of sugar, using yeast that’s tolerant to sugar will help it rise better.
- 22
If proofing at room temperature, let it rise for 2–3 hours. Cold fermentation also tastes great.
Cooksnaps

Keywords
Similar Recipes
More Recipes
-

Gatte ki kadhi and dry Masala gatta

-


-

-

-


-


-


-

-

-

-

-


-
-
-

-


-


-
Pinoy Mami (street style ramen noodles)

-
 Everton
 -
 Everton