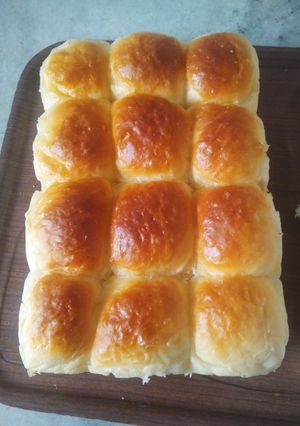
Laadi Pav
A recipe I learnt to almost perfection with many trials and errors.
Laadi Pav
A recipe I learnt to almost perfection with many trials and errors.
Steps
- 1
Wash your hands thoroughly.
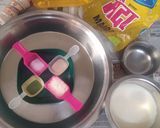
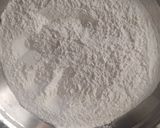
Ready all the ingredients. Warm milk and water and keep ready. These should be as warm as easy to touch. Do not overheat. Mix and dissolve the sugar in warm milk.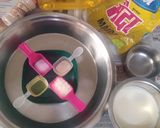

- 2
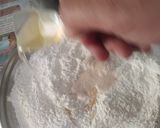
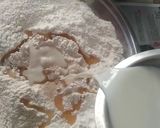
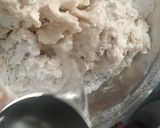
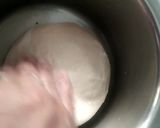
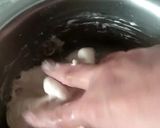
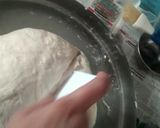
Sieve the maida in a big plate. Add in salt and mix first. Add in the instant yeast and 2 tbsp olive oil. Also add the sweet warm milk in small batches and start kneading the dough.
- 3
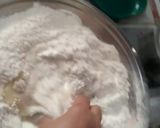
Mix to get a soft dough. Add warm water as required to get a sticky dough.

- 4
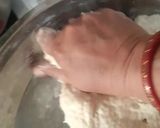
This process is a bit messy. But as we knead the dough it becomes manageable. Add warm water as required again and knead.

- 5
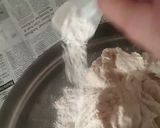
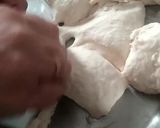
Tap the dough on the plate 8-10 times. This helps to get a soft bread. Stretch and knead. Use little dry maida, if needed, and knead for 6-7 minutes until the dough becomes non -sticky.


- 6
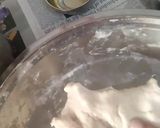
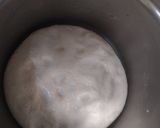
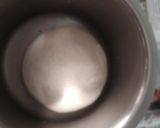
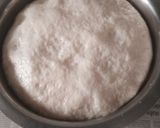
Now smoothen and tuck the dough, to get a smooth surface on top. Grasp all the tucked ends at the bottom and place the dough in a greased big container for the first proofing. Grease the top surface of the dough and sprinkle little water drops on the surface.Cover lid and rest the dough in a warm place.
- 7
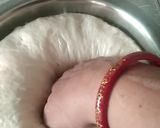
Allow the dough to rise well. It will get more than double in volume. Now gently punch the dough to remove all the air.
- 8
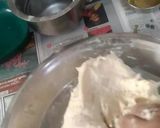
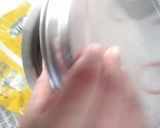
Take the dough on a plate and knead again for 5-7 minutes. You can use little dry maida Or olive oil to manage the dough to get a smooth and supple dough.

- 9
Now cut the dough into parts. Note not to pull apart the dough, ONLY CUT. Or else the yeast growth will get disturbed.
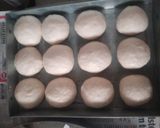
- 10
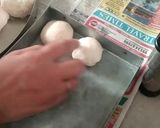
SHAPING OF PAV:
It's a very important step to get the perfect shape and texture. Please follow the video shown below. Take small piece of dough knead a bit and tuck properly and seal well at the base. Place the shaped pav on a greased baking tray. Keep a little gap in between the pav for the rise. Apply little milk on top side of each pav using a brush.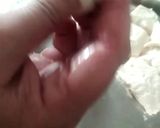
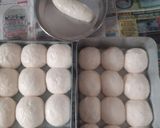
- 11
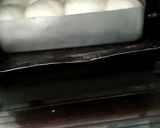
Now place the pav tray in a warm place for 30 minutes (or until well-risen) for second proofing. I usually keep in the oven itself but on 'off mode'
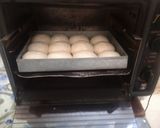
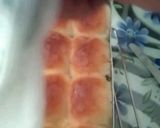
- 12
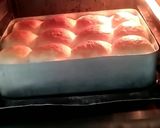
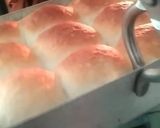
When the pav have risen well they are ready to go into the oven. Bake at 180°C for 10 minutes. (Baking time varies in different brands of oven). Bake until top crust is of lovely golden colour and the toothpick comes out clean.
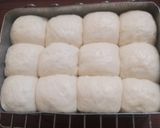
- 13
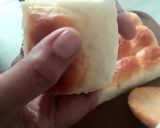
These pav will feel hard at first on the crust. But after 2 minutes these get as soft as cotton.
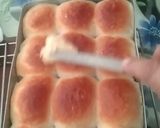
- 14
Apply little butter on the hot pav for the glaze. Cover with a clean damp cloth. Allow the pav to cool.
- 15
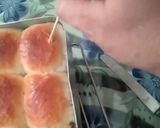
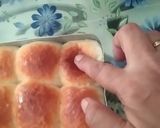
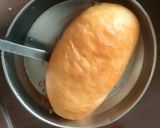
Unmould the pav by freeing the edges.
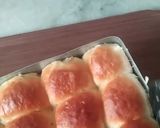

- 16
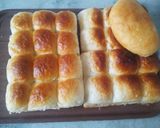
And LO!! Your Hygienic Homemade Pav Better than the Store Bought Ones are READY.
- 17
I made total 24 pav and a small little loaf from these measures.

- 18
Do try this recipe. You may have to
TRY AND TRY AGAIN FOR THE SURE SHOT SUCCESS.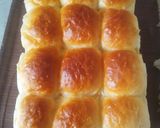
- 19
HAPPY BAKING😊
Similar Recipes
More Recipes
-
 Ricotta Panna Cotta")

-

Aaliv Ladoo - Garden Cress Seeds Ladoo

-


-


-

-


-


-


-

Non-Fried Egg Yolk & Veggies Pakora

-


-


-

-

Butternut Squash Fettuccine Alfredo
-


-
-


-


-


-


-

-

Thai Galangal Panang Chicken Curry

-
 sun dried tomatoes")
 Georgia-lea
 -


 sun dried tomatoes")

Comments (7)