Pandesal (Filipino Bread Rolls) Using The Tangzhong Method
Pandesal is a popular bread in the Philippines 🇵🇭. My husband’s family is Chinese-Filipino, so I’ve been a huge pandesal fan for a very long time. Unfortunately, there are no Filipino bakeries near us, so we’ve ordered pandesal online in the past. I finally decided to make them at home.
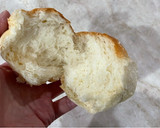
I prefer feathery, light and fluffy pandesal. This recipe achieves that by using tangzhong. Tangzhong is a thick pudding‑like gel made by cooking flour in liquid. Mixing this gel into the dough lets you create a high hydration dough that isn’t overly sticky. In the oven, the abundance of water turns to steam and inflates the dough, making it light and soft. Tangzhong also extends the shelf life of baked goods.
This recipe requires a LOT of kneading, which is critical to obtaining the right dough texture. The dough also starts out very gooey and sticky, which is very difficult to knead by hand. For optimal results, you need a stand mixer.
This recipe is from Michael Grode
Cooking Instructions
- 1
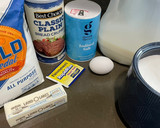
Gather the ingredients.
For best results, you will also need:
⭐️ A stand mixer fitted with a dough hook
⭐️ A food scale
⭐️ A medium sized sauce pan
⭐️ A food thermometer
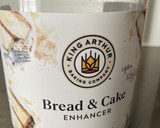
⭐️ A large aluminum baking sheetThe King Arthur Bread and Cake Enhancer is completely optional. I’ve found that it improves the texture of baked goods and also makes them last longer.
- 2
Prepare your workspace:
⭐️ Place the milk in the saucepan, and keep the flour close by for the tangzhong.
⭐️ Place the flour (and the bread enhancer, if using) in a bowl near the stand mixer.
⭐️ Whisk the sugar and salt together in a bowl.
⭐️ Slice the butter and ensure that it and the egg are at room temperature.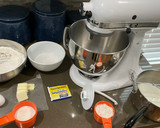
- 3
First, make the tangzhong:
Combine the milk and flour in the saucepan, and whisk it well until it’s fully dissolved.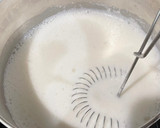
- 4
Place the saucepan over medium-low heat and continue whisking constantly until the whisk starts leaving faint trails in the thickening liquid.


- 5
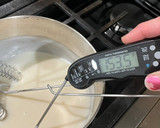
Remove the pan from heat and continue whisking for 1 minute. Check the temperature of the mixture. It should be about 150°F (65.6°C). It’s okay if it’s a little over.
- 6
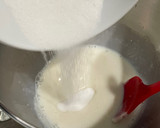
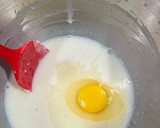
Immediately transfer the tangzhong to the bowl of the stand mixer.
Whisk in the sugar, salt, and remaining milk.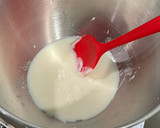
- 7
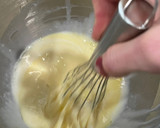
Add the egg and beat it in.
- 8
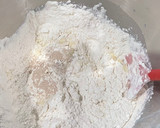
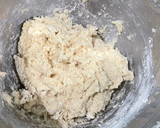
Add the flour and yeast, and stir well until a thick, sticky dough forms.
- 9
Using the dough hook, mix at speed setting 2 for two minutes.
Rest the dough for 15 minutes before continuing.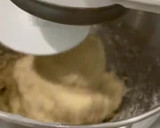
- 10
Mix at speed setting 4 for 10 to 11 minutes.
The dough will look quite sticky, and some of it will stick to the side of your bowl. Do NOT add more flour! Trust the process, and keep going!
Check on your stand mixer every few minutes. If it feels like it’s getting too warm to the touch, turn it off, wait a few minutes, then pick up where you left off.

- 11
Scrape the bowl to collect the dough in a ball, and rest the dough again for 15 minutes.
- 12
Add the softened butter by scraping it onto the dough with a spatula.
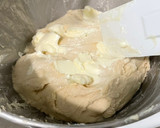
- 13
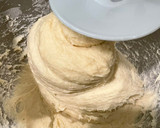
⭐️Mix the dough at speed setting 3 for three minutes.
⭐️Increase the speed to setting 4 and mix the dough for five minutes.
⭐️Decrease the speed to setting 3 and mix the dough for three minutes.
⭐️Finally, decrease the speed to setting 2 and mix the dough for five minutes. - 14
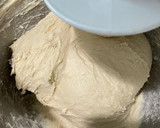
The dough will be smooth and elastic. If you remove a portion of it about the size of a golf ball and pull it apart so it’s almost thin enough to see through, the dough should not tear. This is known as a “window pane test.”
If the dough tears, keep kneading it in the stand mixer at speed setting 2 until it passes this test.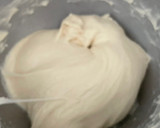
- 15
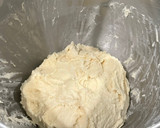
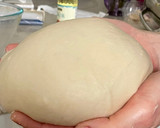
Dampen your hands with water, then scoop the dough out of the stand mixer bowl to release it. Shape it into a smooth ball.
- 16
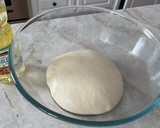
Place the ball of dough into a lightly oiled bowl. Turn the dough so that it is covered with some of the oil. Seal the bowl with plastic wrap.
- 17
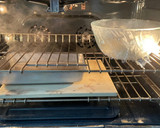
I turned my oven into a proofing drawer so that the dough would rise well. I turned my oven on to its lowest setting for 2 minutes, then shut it off. The inside of the oven was just a little warm. I filled a 9x13” pan about a quarter full with boiling water and placed it on a lower shelf. I then placed my covered dough in the oven and shut the door.
- 18
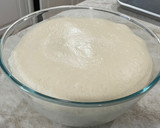
Allow the dough to rise until doubled. This will take approximately one and a half to two hours.
- 19
Prepare your workspace:
⭐️Place about 1/4 cup dried breadcrumbs into a small bowl.
⭐️Lightly flour your work surface.
⭐️Have a food scale handy to weigh each of the dough balls.
⭐️Place an aluminum cookie sheet or pan nearby.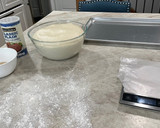
- 20
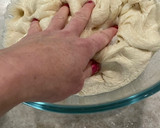
Gently deflate the dough, and transfer it to the lightly floured counter.
- 21
Use a bench scraper to divide the dough into approximately 4 equal portions.
Tear off chunks of dough and shape them into balls. Each ball should weigh between 55 and 60 g.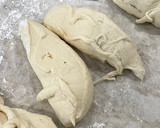
- 22
Pinch the dough at the bottom of each ball and then cup your hand like a letter C shape. Cup your hand around the dough ball from the side and rill it lightly but quickly against the counter surface so that it becomes a smooth round sphere.

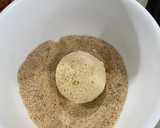
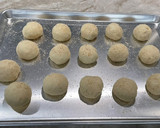
- 23
Roll each of the balls in breadcrumbs so that all sides are completely covered. Transfer the balls of dough to the ungreased cookie sheet. Place them about 2 inches apart.
- 24
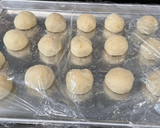
Cover the cookie sheet with plastic wrap, and allow the dough to rise for 45 minutes.
- 25
Toward the end of the second proofing time, preheat the oven to 350°F (177°C).
- 26
Remove the plastic wrap from the cookie sheet.
Bake the rolls in the preheated oven for 22 to 24 minutes.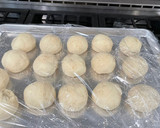
- 27
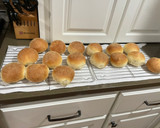
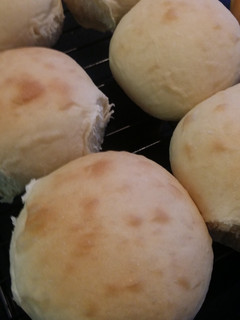
Allow the rolls to cool on the cookie sheet for about a minute before transferring them to wire racks.
You can serve them immediately! There is nothing quite like a fluffy warm pandesal! 💕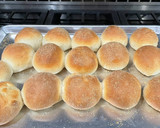
- 28
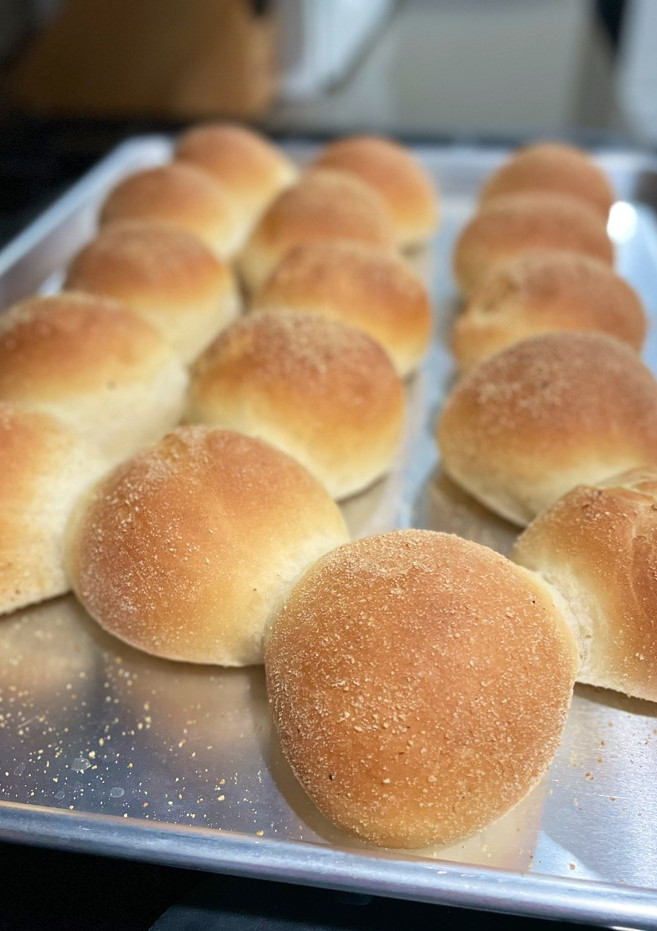
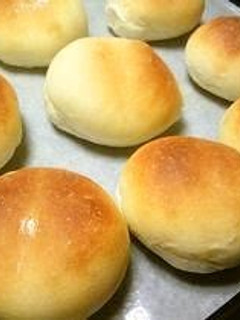
✨SO FLUFFY✨
These rolls are perfectly airy and light. You can serve them slathered with butter and/or jam, or stuffed with cheese, eggs, or meat. Or, you can just eat them as is.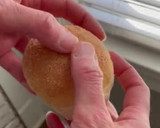
- 29
Store leftover rolls in an airtight container at room temperature for up to four days or up to seven days in the fridge. They can be re-warmed in the microwave or toaster oven.
Reactions
Cooksnaps
Did you make this recipe? Share a picture of your creation!

Similar Recipes
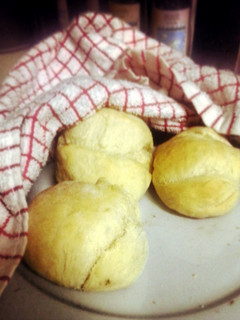
Sweet Bread Rolls
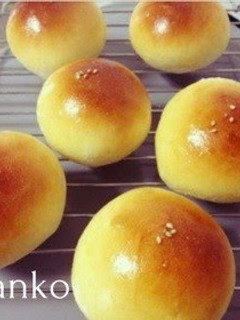
Petit Sesame Bread Rolls
Sweet Bread Rolls
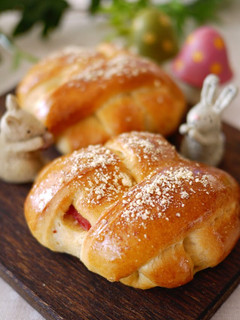
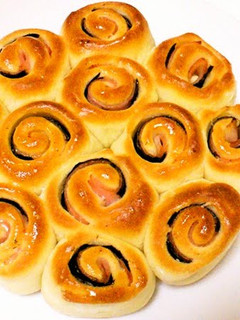
Cute Braided Bread Rolls
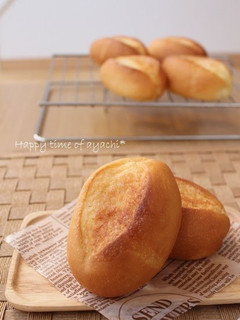
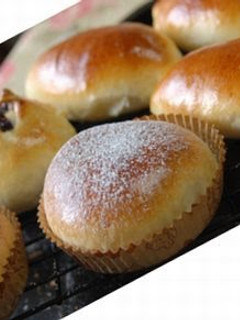
Simple Sugar-Topped Bread Rolls

Rice Flour White Bread Rolls (with Condensed Milk)
Easy Bread Rolls
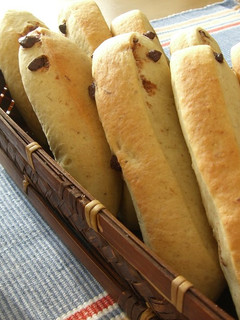
Chocolate Banana Stick Bread Rolls
Chocolate Bread Rolls


Simple Soft & Fluffy Bread Rolls
Bread Rolls
Round Bread Rolls
Brown Sugar & Kinako (Roasted Soy Flour) Plain Bread Rolls

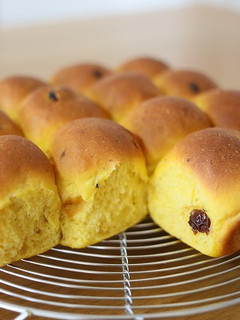
Kabocha Squash Twisted Bread Rolls
Petit Bread Rolls
Quick Spelt Bread Rolls
Easy Bread Rolls

Simple Fluffy Bread Rolls
Fluffy Bread Rolls
Round Bread Rolls Filled with Anko - Made in a Bread Machine
Easy Small Bread Rolls
Fluffy Sweet Bread Rolls
Pull-Apart Bread Rolls with 50% Kabocha Squash
Light and Fluffy Basic Bread Dough Bread Rolls
Simple Curry Bread Roll

Pull-Apart Bread Rolls with 50% Kabocha Squash

Malai Bread Roll
Fluffy Soy Bread Rolls with Rice Flour
Almond Paste Bread Roll (Gluten Free!!!)

Comments (3)