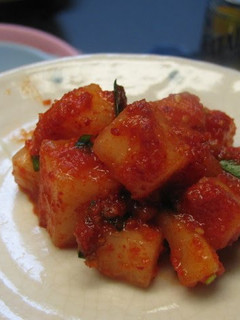
Authentic Easy Kimchi (shellfish-free)
I developed this recipe because of my shellfish allergy. It features subs for the fermented shrimp, and I've found that the flavor tastes very similar to what I ate when I was in South Korea. I will add more pictures when I make it again.
Cooking Instructions
- 1
Start by cutting up the Napa cabbage, without washing it. Cut off the bottom and then cut it into fourths (you can make a cut about halfway up from the bottom and then pull it apart the rest of the way). Once in fourths, cut each fourth in half again and then cut each cabbage section into approximately one inch pieces. If there are any that are more than 1 or 1.5 inch, just break it in half with your hands.
- 2
Put all the cut up cabbage into a large strainer and wash it really well. I place the strainer in the sink and use my hands to make sure all the cabbage is washed. You can also fill the sink around the strainer, and then wash the cabbage well, then empty the sink (it doesn't have to be too perfect, as we will be rinsing the cabbage off really well later on).
- 3
Move the cabbage to your large bowl. Move the cabbage around and try to sprinkle the salt evenly (rather than just dumping it all on top of the pile of cabbage). Sprinkle half on, mix it through, and then sprinkle the rest, doing the same.
- 4
Let this rest at room temp and covered with plastic rap or a large plate for about two hours, stopping by about half way through to give it a mix. You'll note that a brine is forming, water is collecting in the bowl, and the cabbage is growing soft. This is good. Meanwhile we will prep the other stuff.
- 5
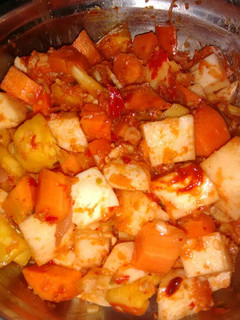
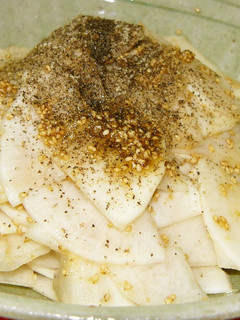
While the cabbage is sitting, first peel and cut up the daikon radish into matchsticks. Don't strive for perfection, just edible pieces. Put them in the medium bowl. To the same bowl, add the half bag of carrot matchsticks and the green onions/scallions, cut into about one inch pieces.
- 6
We will also prepare the seasoning now. Put the 3/4 cup of water in a small sauce pan and heat it up on the stove. Once it's reached a gentle boil, slowly add the 1.5 tablespoons of glutinous rice flour and whisk as you add it. It's important to go slowly, as it will clump if added all at once. While some clumps are ok, we are looking for a mostly smooth porridge/paste. Remove from heat and let sit for now.
- 7
Now time for the shellfish substitution flavors. In your large glass measuring cup (I've found these work best for this part because of the shape and ease of pouring later), add your 1/2 cup of hot (near boiling) water and to it dissolve about 1 teaspoon of dashi stock. Then mix in 1/4 cup of shiro (white) miso and 1 tablespoon of gochujang. Whisk this until dissolved. Next, add the rice porridge. Stir all of this well and put in the fridge for later on.
- 8
Now just mince the ginger and garlic and keep in a small bowl for later.
- 9
The cabbage is ready when you can bend the thickest pieces and they don't break right away. Put your strainer back in the sink and empty the cabbage into it, and rinse out the large bowl as we will be using that again! Rinse the cabbage (like we did at the beginning) about three or four times, as we do not want any of the salt remaining. Once rinsed, put the cabbage in the large bowl.
- 10
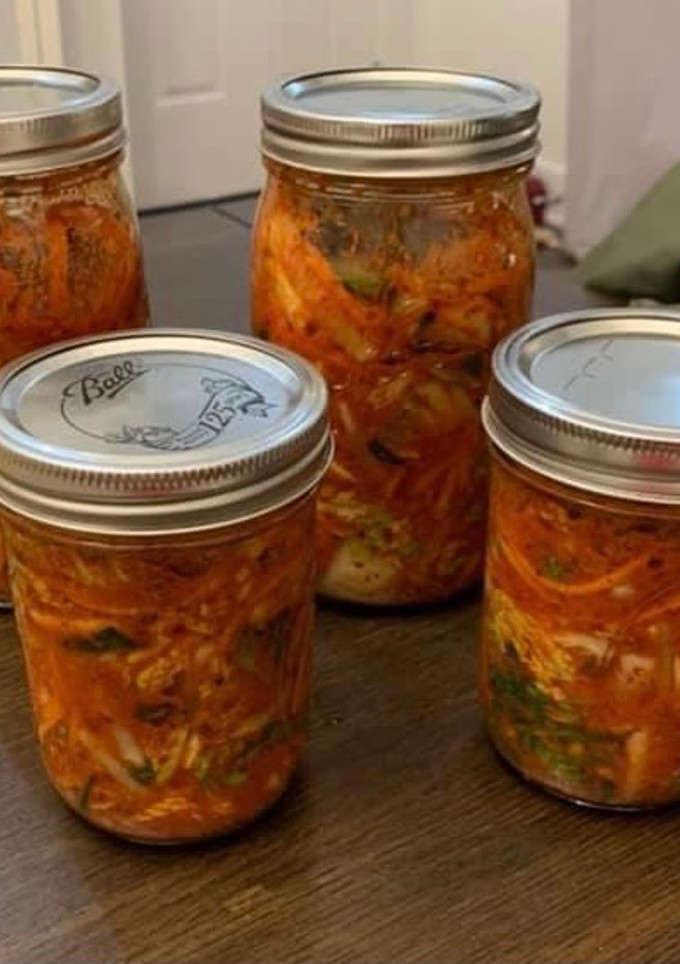
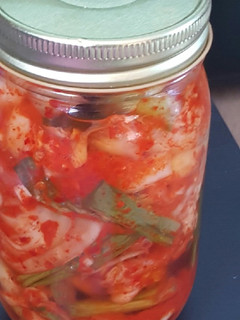
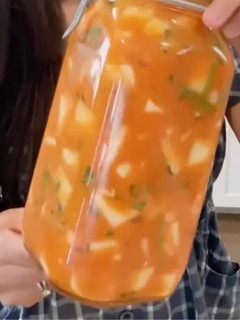
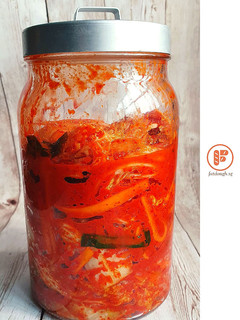
Before we continue, get the jars or containers ready. Mason jars are the best for this, as the glass does not retain the kimchi smell and can be reused for other things. You can also buy a kimchi container if you make it frequently. I like to put down a plastic mat before filling the jars to protect the countertop, as the sauce will stain.
- 11
Take out the porridge mixture and give it another stir. Then add to it the 3 tablespoons of anchovy sauce, the garlic and ginger, and then 1/2 cup of gochugaru (Korean chili flakes) and combine all of these to it. The consistency should be a runny paste.
- 12
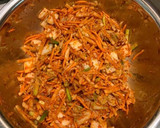
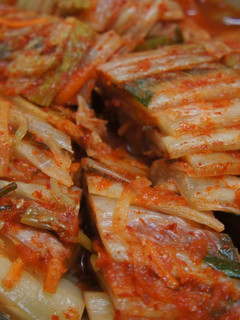
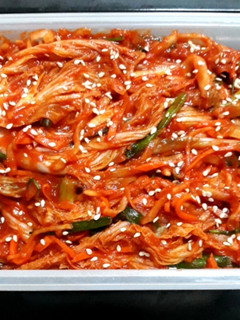
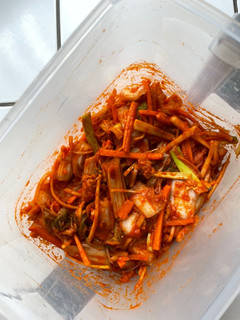
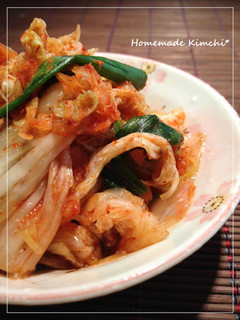
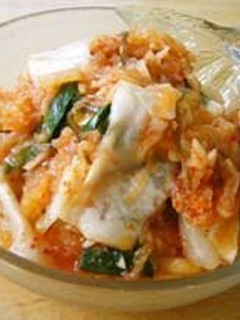
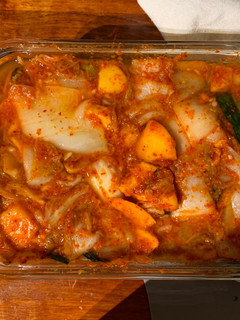
Time to put on the gloves, as your hands make the best mixing tools here. Once you are gloved, add the sauce to the cut up veggies in the medium bowl and mix thoroughly. Once that's done, add that mixture to the cabbage and combine thoroughly with the cabbage. It should look delicious!
- 13
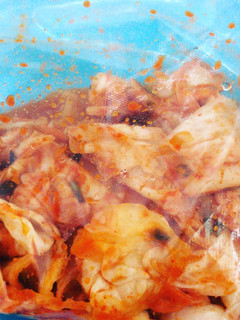
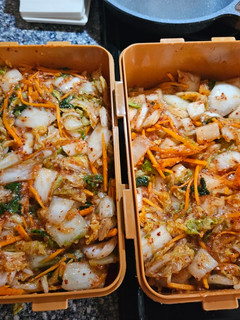
At this point, I like to use a canning funnel (they're plastic, cheap, and make the process way easier). Using your hands, grab clumps of the kimchi and stuff into the jars, pressing down with your fist as you go and ensuring the brine is covering the contents. Do this and make sure to leave about two inches of head space on the top of each jar (otherwise they will explode and it's no fun). Wait until you put the lids on.
- 14
Wash your hands, with gloves on, with dish soap and try to get as much of the kimchi liquid off of them before placing them on a dish drainer to dry. Now rinse out the bowls and everything so that there's no sauce splashing around during cleanup.
- 15
Use a damp paper towel to wipe off the rims of the jars before putting on the lids. Once the lids are secured, I rinse the jars off under warm water and dry them off. Place them in the fridge to ferment or enjoy right away! This kimchi is good for weeks, depending on how sour you like it!
Reactions
Cooksnaps
Did you make this recipe? Share a picture of your creation!

Written by
Similar Recipes
Authentic Kimchi
Easy Kimchi
Our Homemade Authentic Kimchi
กิมจิ (โฮมเมด) Homemade Kimchi ทำทานเองแบบง่าย ๆ

Homemade Kimchi
My Kind of Kimchi
김치 (Kimchi - no shellfish, low-salt)
Công thức kimchi đơn giản của mình

Korean Kimchi from the Source
Flavour of Korea: Simple Homemade Kimchi
Vegan kimchi
Cucumber Kimchi
Easy Daikon Radish Kimchi

Easy Kimchi Soup
Homemade Radish Kimchi
Storeable Homemade Cabbage Kimchi

Easy Daikon Radish Kimchi Stock

Easy and Authentic Kimchi Jjigae in Just 10 Minutes!
Ultra-Easy Kimchi Yakisoba Noodles
How To Make Vegan Kimchi
Mul (Water) Kimchi Instant Pickles
Not Difficult At All: Oi-sobagi (Stuffed Cucumber Kimchi) Super Easy
Delicious Kimchi Hot Pot For One
Kkakdugi (Cubed Radish Kimchi)
Feasting at Home's kimchi recipe!
Super Easy Bacon & Brown Sugar Braised Kimchi

Chilled Soy Milk Kimchi Udon
Izakaya Pub-style Kotchori Kimchi (Turnip Salad)

Super Easy for Short-term Diets Kimchi Tofu

Comments