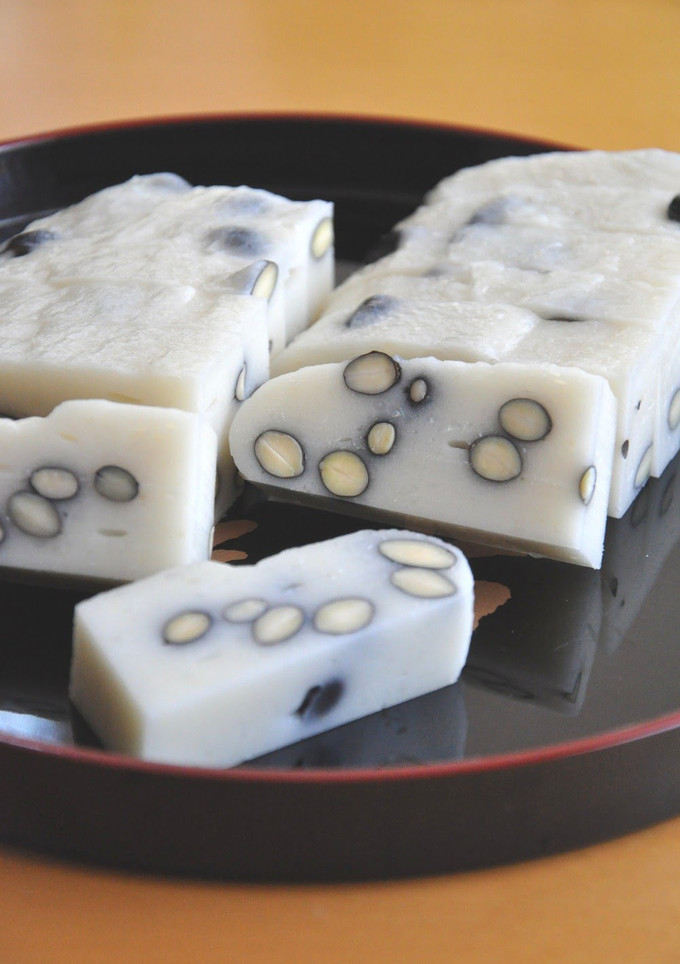
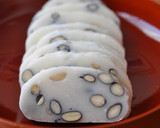
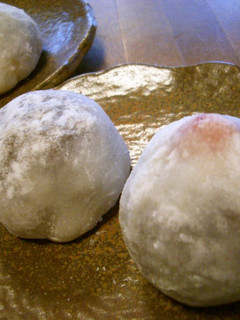
Old Fashioned Bean Mochi (Made in a Mochi Machine)
If using a cake box in Step 12, line the box with plastic wrap.
I learned most of my mochi recipes from my aunt.
Use a small amount of water when steaming, since you will dampen your hands when mixing in the beans.
To prevent the mochi from becoming too sticky, shake off the excess water from your hands when mixing.
I used a flat lid for the mochi machine, but an oblong semi-cylindrical lid would also work well. Recipe by La Land
Cooking Instructions
- 1
[Prep the ingredients] Soak the rice in a generous amount of water (6 to 8 hours if freshly harvested, or 8 to 10 hours if not). Also soak the kuromame in plenty of water overnight.
- 2
[Boil the beans] Put the beans and water they soaked in into a pot, bring to a boil, then reduce to low heat. Simmer for 10 minutes, skimming the scum as it rises, then drain.
- 3
[Pound the mochi] Drain the rice, let sit in colander for about 20 minutes; shake from time to time to release any water that collects at the base of the colander.
- 4
Put the water into the mochi machine, add the rice, then press the start button. Add the salt when it signals that the rice is finished steaming.
- 5
When the machine signals that it is finished pounding the rice, check to see whether any grains remain. If so, pound again.
- 6
Prepare a large bowl, and water for dampening your hands. Dampen both hands, then remove the mochi while the mortar is turning.
- 7
Transfer it to the bowl. You should be able to transfer the mochi easily as long as you dampen your hands while the mortar is turning.
- 8
Taste the mochi. If it is bland, put salt on your hands, then mix together with the beans.
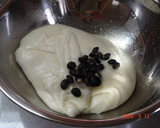
- 9
Put a handful of beans close to the edge of the mochi.
- 10
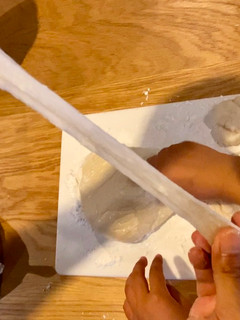
Dampen hands, draw mochi over the beans, then gently press down with the inner pad of your hands.
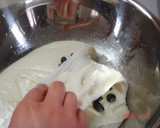
- 11
Repeat Steps 9 and 10 until beans are evenly distributed.
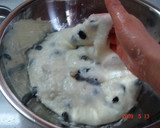
- 12
Dust the surface of the lid of the mochi machine or a cake box with starch, then transfer the mochi. Sprinkle a small amount of starch on the surface, then spread evenly.

- 13
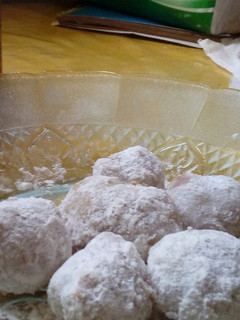
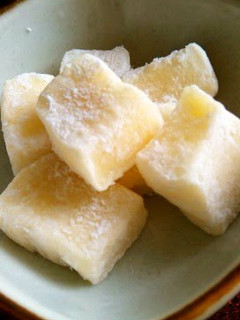
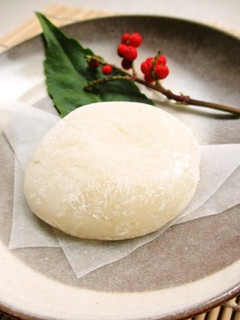
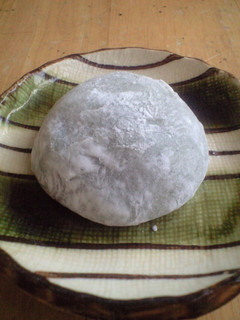
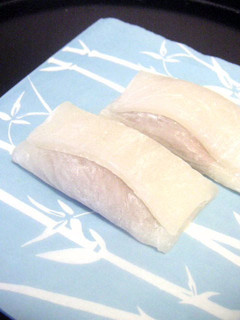
Cool, wrap in plastic wrap, then let sit in a cool place overnight. It should be hard enough to slice. Cut into desired sizes, then they are done.

- 14
When dusting, use as little starch as possible. If you use too much, they will mold easily.
- 15
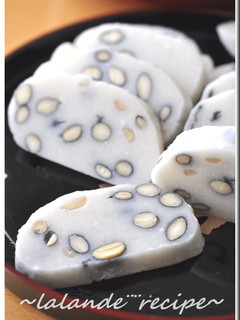
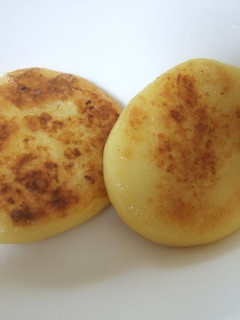
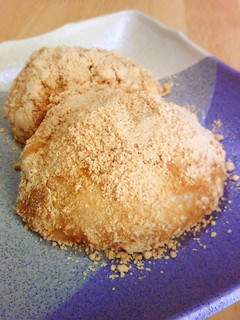
Grill or toast before serving and enjoy as is! If they aren't savory enough, dip in soy sauce or soy sauce with sugar.
- 16
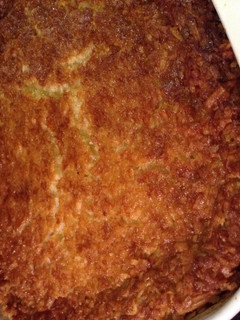
This was made in a bread maker. I shaped it into an oblong loaf, then sliced. See.
https://cookpad.wasmer.app/us/recipes/168933-old-fashioned-mame-mochi-with-a-bread-maker
Linked Recipes
Reactions
Cooksnaps
Did you make this recipe? Share a picture of your creation!

Written by
Similar Recipes
Old-Fashioned Mame-Mochi with a Bread Maker
Homemade Mochi
Mochi
Japanese Mochi (Homemade) by leli
Mango Mochi
So Soft Buttered Mochi
Mochi Ice Cream

Easy in a Microwave! Strawberry Daifuku Made with Pre-Cut Mochi
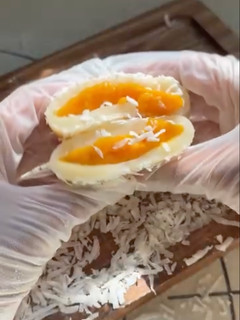
Mango Mochi
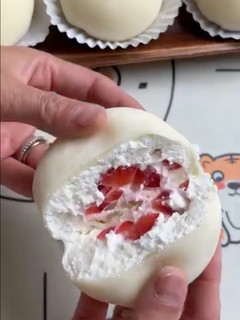
Strawberry Mochi

Barley Flour Mochi
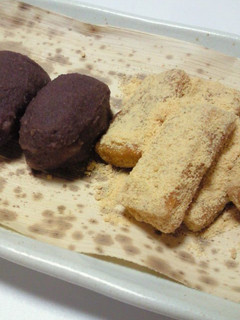
Easy Abekawa Mochi
Butter Mochi
Egg Mochi
Sticky Chewy Daifuku Dumplings made with Cut Mochi Cakes
Potato Mochi
Kinako Mochi Chocolate
Daifuku-mochi with Sliced Mochi

Easy Sweet Bean Paste on Mochi -- For Those Abroad
Oreo Mochi

Cabbage Mochi
Creamy Chocolate Mochi Dumplings
Soft Mochi Ice Cream
Strawberry Daifuku Made with Cut Mochi

Sweet Potato Mochi

3 Types of Adzuki Bean Mochi
Gooey and Soft Kashiwa Mochi Made Easily in a Microwave

Creamy Mixed Nuts Mochi
Grandma's Abekawa Mochi - Mochi Rice Cakes with Kinako

Comments (3)