

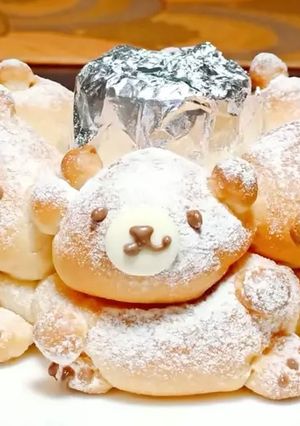
Milk Bear Loaf

I made these bear-shaped bread loaves for my six-year-old neighbour to cheer her up, as she told me she’d been feeling really bored lately due to the lockdown. I created them in the hope that they would bring a smile to her face.
A cute milk bear loaf made with an angel-soft milk dough—wonderfully light and fluffy!
Milk Bear Loaf
I made these bear-shaped bread loaves for my six-year-old neighbour to cheer her up, as she told me she’d been feeling really bored lately due to the lockdown. I created them in the hope that they would bring a smile to her face.
A cute milk bear loaf made with an angel-soft milk dough—wonderfully light and fluffy!
 Open in Cookpad App
Steps
- 1
The video of this recipe is at: https://youtu.be/sgdRLsDiVVU
- 2
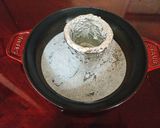
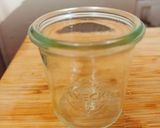
Prepare the tin by greasing it and lining the base with baking parchment. I use a 20cm tin, and I’ve also fashioned a tube using foil and a small ovenproof glass — just make sure to grease the foil as well.
- 3
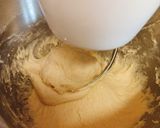
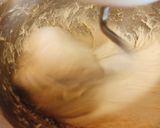
Prepare the milk loaf up to Step 7, the end of the first proving. https://cookpad.wasmer.app/uk/recipes/11955346-japanese-angel-soft-milk-loaf
- 4
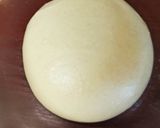
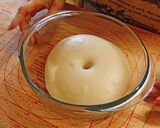
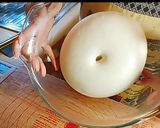
Once the dough has finished proving, gently knock it back and reshape it into a smooth ball.
- 5
Divide the dough into four equal portions using a scale. I recommend using one that measures to 0.1g for accuracy — I use a precise one I bought in Japan.
① 84g for the heads (Feel free to adjust the size of the heads to create different expressions. In this version, the head is approximately 66% the size of the body.)
②15g for the back paws
③ 15g for the ears and front paws
④ The remaining dough for the bodies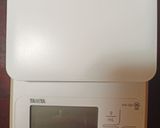
- 6
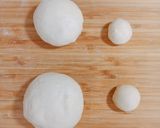
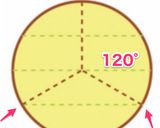
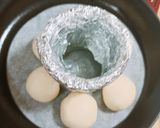
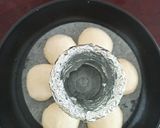
【Bodies, 6 balls】Divide ④ into 6 balls. I would cut it half first and round them. Then, divide them into 3. When I cut dough into 3, I usually make a ball and divide into 3 with 120° with the help of the imaginary line of the green line in the first picture. Make balls. Place in the tin. Cover with a damp cloth in order not to dry out when you are doing these steps. (about 21g each)
- 7
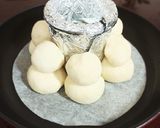
【Heads, 6 balls】Divide portion ① into six equal pieces. Start by dividing the 84g of dough in half (42g each), then divide each half into three (approximately 14g each).
Place the heads on top of the bodies and cover with a damp cloth or cling film to prevent them from drying out.
- 8
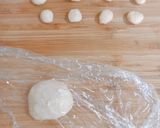
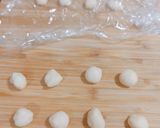
【Back paws, 12 balls】Divide the 15g of dough (portion ②) into four equal pieces (about 3.75g each). Shape them into balls, then divide each ball into three (approximately 1.2g each).
Leave them on the board and cover them. I used cling film.
- 9
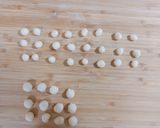
【Ears and front paws, 24 balls】Repeat the same process as in Step 7 to make 12 balls.
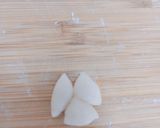
First, divide portion ③ (15g of dough) into four equal pieces (about 3.75g each). Shape them into balls, then divide each ball into three (approximately 1.2g each). Finally, divide each piece in half (about 0.6g each).
- 10
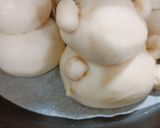
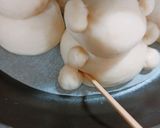
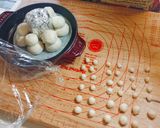
Assemble small parts (ears and paws). Use scissors to cut the dough, and then tuck it with a skewer to ensure it stays in place. You can gently press the faces to help shape them better.
- 11
Start to preheat the oven at 180℃.
- 12
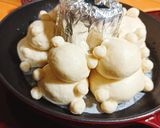
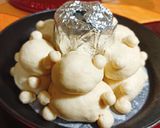
Leave the dough in a warm place until it has risen to 2-2.5 times its original size. The rising time will depend on how quickly or slowly you divide and assemble the dough, so you may not need to wait too long.
- 13
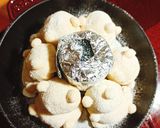
Dust them with flour.
- 14
Put the bread in the oven and turn down the temperature as 160℃.
Then, bake at 160℃ for 18-20 mins. - 15
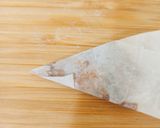
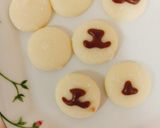
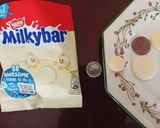
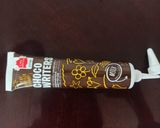
While baking the bread, prepare the decorations with white chocolate buttons. I used Milkybar buttons for the faces and Choco Writer Milk in parchment to draw, as it’s easier to create small details with it. Follow the instructions on the Choco Writer Milk packaging for how to melt it. I also used the small 30g bag of Milkybar buttons, as they are the perfect size—about the same size as a 5p coin.
- 16
After about 18 minutes, remove the bread from the oven and leave it to cool on a cooling rack.
- 17
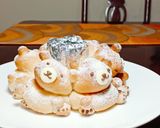
Once the bread has cooled, use Choco Writer Milk to draw the eyes and paws, as it’s perfect for adding small details. If the bread is still warm, the chocolate will melt, so make sure to wait until it has completely cooled.

- 18
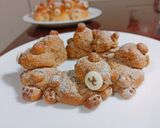
Even if they lean or end up in a funny position, they’ll still look cute, so you really can’t go wrong. You could also make them with wholemeal flour, and they’d still look adorable! 💕


- 19
Store the loaf in a plastic bag to retain moisture, keeping it soft and fresh.
Cooksnaps

Similar Recipes
More Recipes
-

-

-

-


-

-

Slow Cooker Goat Curry (myheartbeets.com)

-


-


-

-

-


-
Steak, one of the tastiest you'll have #mycookbook

-


-
 Lilian Bird
 -
-

-
-
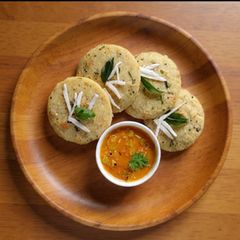
Carrot - Coriander Idli With Sambar

-






Comments