Authentic home cooking from Japan, with US measurements.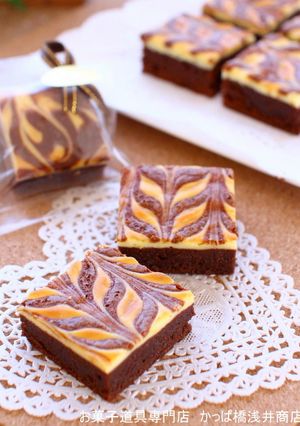
Cream Cheese Brownies

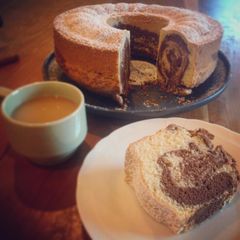
A simple and delicious treat, brownies with a refreshing hint of cheese tang. The marble pattern is cute, making it a great gift!
The origin of this recipe
This is a popular treat even at certain theme parks.
When baking brownies without making them too thick, a regular square pan can be too deep, but a multi-square pan with a 1.5-inch depth is very convenient.
It's also easier to smooth the surface and achieve an even thickness. It helps prevent uneven baking too!
Cream Cheese Brownies
A simple and delicious treat, brownies with a refreshing hint of cheese tang. The marble pattern is cute, making it a great gift!
The origin of this recipe
This is a popular treat even at certain theme parks.
When baking brownies without making them too thick, a regular square pan can be too deep, but a multi-square pan with a 1.5-inch depth is very convenient.
It's also easier to smooth the surface and achieve an even thickness. It helps prevent uneven baking too!
 Open in Cookpad App
Steps
- 1
■ Preparation
Line the bottom of a 6-inch square pan with parchment paper. - 2
■ Making the Brownie Batter
Chop the chocolate and butter, place them in a bowl, and melt over a double boiler. Once melted, remove from the heat and gently mix with a whisk.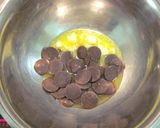
- 3
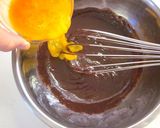
Add the sugar and mix with a whisk until no longer gritty, then add the beaten egg and mix.
- 4
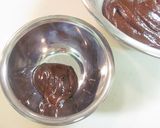
Add the sifted all-purpose flour and mix until no flour remains, then set aside about 1/2 tablespoon for the pattern.
- 5
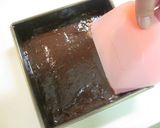
Pour the batter into the prepared pan and smooth the surface with a spatula to ensure even thickness.
- 6
■ Making the Cheese Batter
In a microwave-safe container, lightly heat the cream cheese to soften, then add the sugar and egg and mix.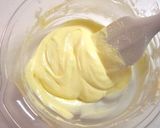
- 7
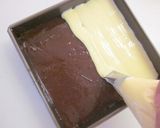
Put the batter into a piping bag fitted with a #3 round tip and pipe it evenly over the surface of [5].
- 8
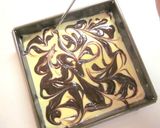
Drizzle the reserved brownie batter with a spoon, and use a skewer to gently draw random lines on the surface to create a marble pattern.
- 9
Bake in a preheated oven at 340–355°F for about 30 minutes, being careful not to over-brown. Let cool in the pan.
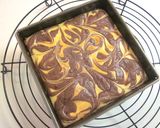
- 10
Once completely cooled, remove the parchment paper from the bottom and trim about 1/5 inch from each of the four edges. Cut into desired sizes to finish.
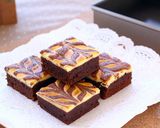
- 11
※ For a herringbone pattern, in step [8], draw the brownie batter in parallel thin lines, and use a skewer to draw in alternating directions.
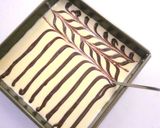
- 12
Reference wrapping for cutting into 9 pieces
http://item.rakuten.co.jp/asai-tool/gt-7/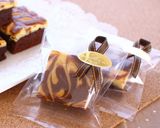
- 13
※ To prevent the surface from sticking to the bag, cover with cake film before packaging for a neat finish!
- 14
If you want to make more, use 1.5 times the batter for an 18cm pan, or double the batter for a 21cm pan.
- 15
※ If changing the amount of batter, adjust the baking time accordingly.
Cooksnaps

Keywords
Similar Recipes
More Recipes
-
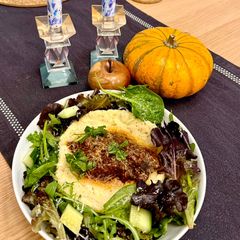
Slow-cooked Ox Cheek in Red Wine

-
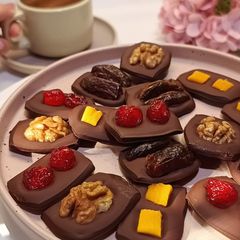
The Easiest Homemade Chocolate Candies 🍫

-

-

-

-

-


-

-
Aloo Dum(Bengali-Style Spicy Potato Curry)গরম মশলায় আলুর দম | A Bengali-Style Spicy Potato Curry

-

-
 Kevin Salchert
 -

Strawberry and banana smoothie

-

-

-
-
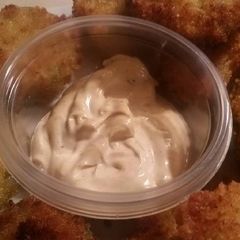
Chicken Fried Tomatillos w/ Smoked Cumin Dip
-

-

-

-

-
Masala oats with lots of vegetables
-