Authentic home cooking from Japan, with US measurements.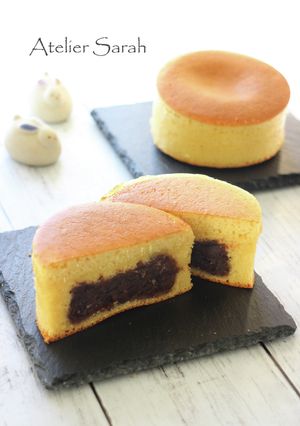
Easy Imagawa-yaki (Obanyaki) with Pancake Mix in a Skillet

Using affordable silicone molds and pancake mix, you can easily make Imagawa-yaki (Obanyaki) filled with plenty of sweet red bean paste right in a skillet!
Recipe Background:
I was craving Imagawa-yaki and thought I could make it using thick pancake silicone molds. I tried to make it as simple as possible.
To be honest, the sides don’t get browned, the pancake mix is used, and the shell is thick. It’s kind of like a pancake stuffed with sweet bean paste, but it’s still really tasty in its own way (lol).
Easy Imagawa-yaki (Obanyaki) with Pancake Mix in a Skillet
Using affordable silicone molds and pancake mix, you can easily make Imagawa-yaki (Obanyaki) filled with plenty of sweet red bean paste right in a skillet!
Recipe Background:
I was craving Imagawa-yaki and thought I could make it using thick pancake silicone molds. I tried to make it as simple as possible.
To be honest, the sides don’t get browned, the pancake mix is used, and the shell is thick. It’s kind of like a pancake stuffed with sweet bean paste, but it’s still really tasty in its own way (lol).
 Open in Cookpad App
Steps
- 1
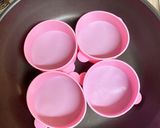
Use four silicone pancake molds (about 3 inches diameter x 2 inches high). Lightly grease the inside of each mold with butter. Arrange the molds in a skillet.
- 2
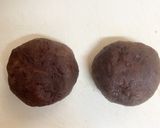
You can use either chunky or smooth sweet red bean paste—whichever you prefer. Use a type with less moisture. Shape two portions of bean paste into ovals, about 2.8 oz (80g) each.
- 3
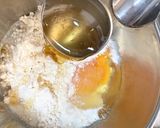
Add all the ingredients marked with ★ (pancake mix, egg, milk, honey) to a bowl. Using the same tablespoon you measured the honey with, mix everything together until smooth and evenly combined.
- 4
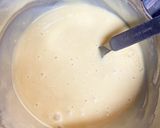
Once there are no dry spots left, the batter is ready.
- 5
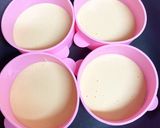
Spoon the batter into the prepared molds. For two of the molds, add a little extra batter. Reserve a small amount of batter to cover the bean paste later.
- 6
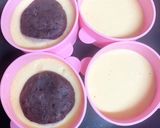
Cover the skillet and cook over very low heat for 5 minutes (Step 1). After 5 minutes, place the shaped bean paste onto the center of the two molds with extra batter.
- 7
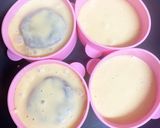
Spoon the reserved batter over the bean paste. Cover again and cook for another 5 minutes (Step 2).
- 8
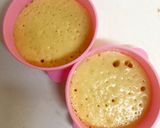
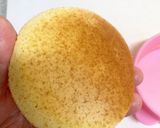
After 5 minutes, remove the two molds without bean paste. The surface should have small bubbles and feel a bit sticky to the touch, but they can be removed at this stage.
- 9
The bottoms should have a light golden color when removed.
- 10
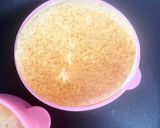
Place the removed cakes on top of the ones with bean paste, fitting them together snugly in the molds.
- 11
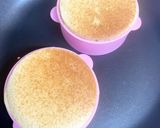
Cover again and cook for another 5 minutes (Step 3).
- 12
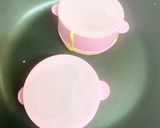
After 5 minutes, flip the cakes and cook for another 5 minutes (Step 4).
- 13
Remove from the molds. If the sides are still sticky, return them to the molds and cook a bit longer, or microwave for 1–2 minutes.
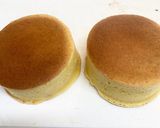
- 14
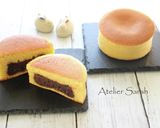
This is how they look when finished.
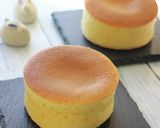
- 15
Close-up of the top. Cooking slowly over very low heat gives them a nice, even color.
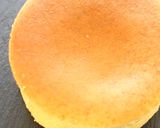
- 16
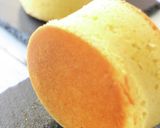
Close-up of the sides. They’re 2 inches tall—very impressive!
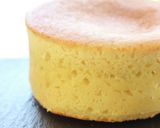
- 17
Close-up of the bottom. The color matches the top nicely.
- 18
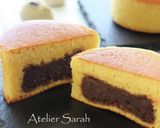
Cross-section view. No air pockets and packed with sweet bean paste!
- 19
Cooksnaps

People also looked for
Keywords
Similar Recipes
More Recipes
-
Easy Clam Chowder Low-fat Method

-

-

-

Classic Chocolate Chip Cookies
-

-

-
Lal Saag Curry/ Red Amaranth Saag Curry

-

-

-

MURGH MAKHANI / BUTTER CHICKEN CURRY

-

-

Shredded Chicken Broccoli 🥦 Pasta Bake

-


-
-

-

-

-


-


-
Shredded Chicken Broccoli 🥦 Pasta Bake
-