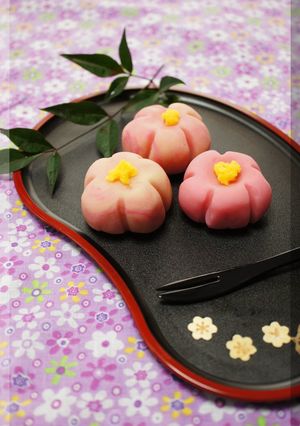
Easy Microwave Nerikiri Japanese Sweets
I thought that if I started with dried an powder and adjust the amount of water added, that I could make nerikiri easily, so I tried it out.
When you are making the gyuuhi, add the water little by little so that lumps don't form.
If you aren't using dried an powder, microwave the ready-cooked an paste until it reaches the consistency of mashed potatoes. Recipe by cherry
Steps
- 1
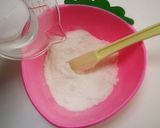
Make the gyuuhi: Mix the shiratamako and sugar together. Mix in the water little by little so that lumps don't form.
- 2
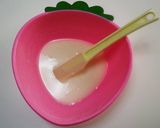
Microwave for 1 minute at 600 W, and mix well with a wooden spatula. Next, microwave for 30 seconds and mix again with the spatula. Microwave for another 30 seconds and mix again.
- 3
Microwave for a total of 2 minutes. When the it's puffy and translucent, the gyuuhi is done.
- 4
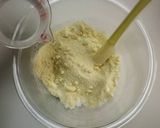
Make the shiro-an (white bean paste): Combine the dried an powder and sugar, and add water little by little while mixing well. Microwave for 3 minutes at 600 W.
- 5
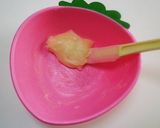
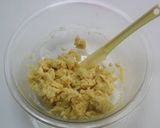
When the shiro-an is the consistency of mashed potatoes it's done. Add the gyuuhi to this and mix and knead together well with a spatula.
- 6
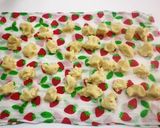
Microwave for 1 minute at 600 W. This is nerikiri. Rip it into small pieces and spread out the pieces on a tightly wrung out moistened kitchen towel.
- 7
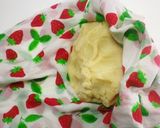
Bring all the pieces together by wrapping the cloth around them and knead well. Repeat Steps 6 and 7 three times.
- 8
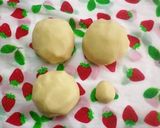
Divide the nerikiri into 3 portions plus a small portion.
- 9
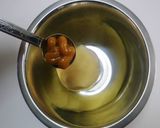
Add the umeboshi plum pase to the first piece of nerikiri and knead together to make umeboshi flavored nerikiri-an.
- 10
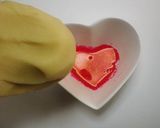
Add a tiny bit of red food coloring to the 2nd piece of nerikiri
- 11
I colored the 3rd piece of nerikiri in a marbelized pattern.
- 12
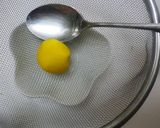
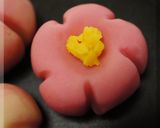
Add yellow food coloring to the last tiny bit of nerikiri, and pass it through a sieve.
- 13
Spread out one piece of nerikiri onto the moistened kitchen towel. Put some umeboshi flavored nerikiri-an in the middle, and wrap the spread out nerikiri.
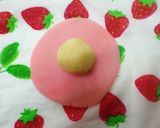
- 14
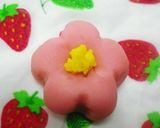
Form the nerikiri using a chopstick and/or a spoon and so on. Put a little yellow nerikiri in the middle.
- 15
The nerikiri can also be formed into little squeezed 'chakin' dumpling shapes. Either nerikiri will be colorful and pretty formed in this way. (Wrap a little nerikiri in a tightly wrung out moistened kitchen towel or a piece of plastic wrap and twist tightly to form a dumpling shape.)

- 16
Done.
Cooksnaps
Did you know that you can import recipes from anywhere into Cookpad with one click?
https://blog.cookpad.com/us/cookpad-recipe-import-feature-save-recipes-from-anywhere/
Download Cookpad app to plan your meals and store your cooking ideas in one safe place! https://cookpad.wasmer.app/us/download
Keywords
Similar Recipes
More Recipes
-


-


-

Corn Chaat / Cheese Corn Chaat

-


-


-

")
-


-


-


-


-


-

Shizuoka Prefecture 'Sakura' Rice

-

Macrobiotic Banana Pound Cake With Rice Flour & Tofu
-

-

-
")
Soft Oatmeal Cookies (Macrobiotic & Vegan)
-
Soft Oatmeal Cookies (Macrobiotic & Vegan)
-

For Hanami Bento Easy! Sakura Temari Sushi
-

Easy Samosas with Gyoza Dumpling Skins!
-

Oil-Free Apple & Chrysanthemum Leaf Salad
-


Comments