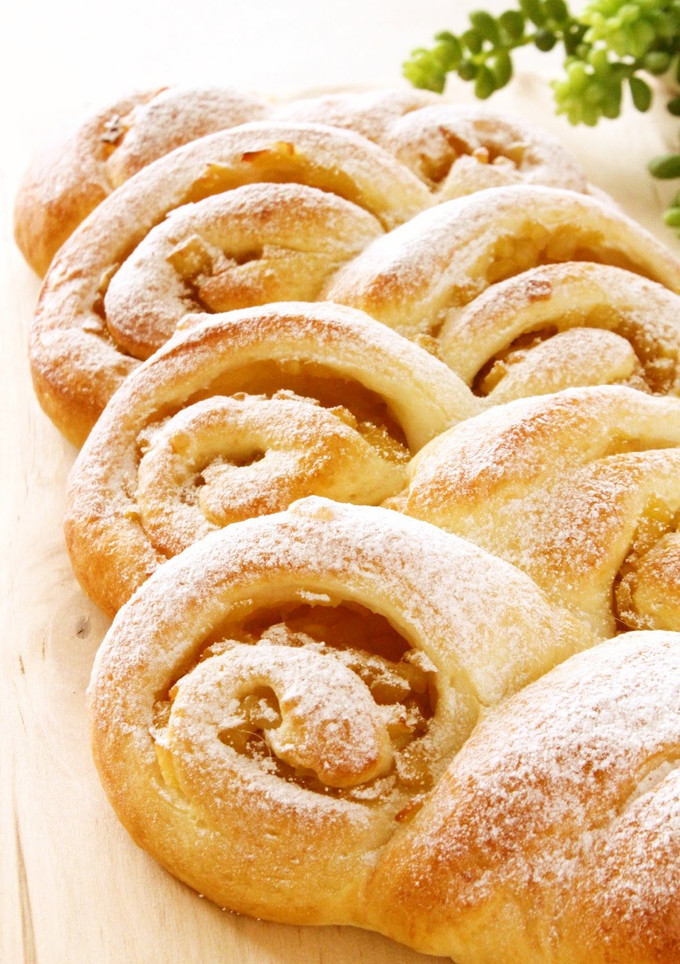
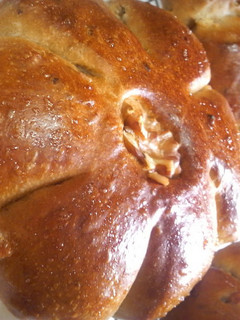
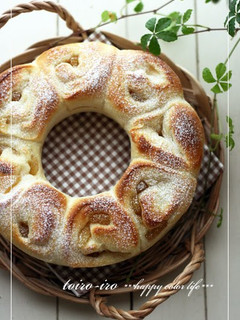
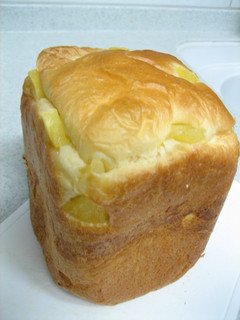
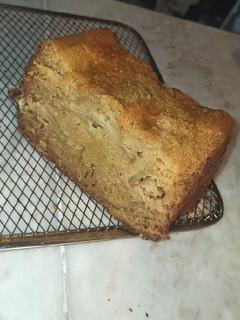
Fluffy Light Apple Bread Made in a Bread Machine
It's apple season now, so I combined our family's signature recipe for apple pie filling, with soft and fluffy milk bread to make apple bread.
※I use a Panasonic Home Bakery bread machine, and set it to the Bread Dough program.
※Bring unsalted butter to room temperature before adding it to the bread machine.
※I used a SHARP oven to raise the dough.
※I normally use white sugar for bread, but I used light brown sugar this time. Please use whichever you prefer. Recipe by Banyangarden
Cooking Instructions
- 1
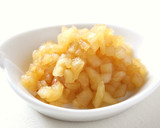
Make the apple filling. Dice the apple.
- 2
Put the diced apple, sugar, and butter in a pan, and cook while stirring.
- 3
When the butter and sugar have melted and everything is well incorporated, simmer over low-medium heat until there's no liquid left in the pan, stirring occasionally.
- 4
When the apple is translucent, lightly browned and shiny, and there's no liquid left in the pan, the filling is done. Leave to cool completely.
- 5
Put all the ingredients, except for the dry yeast, in the bread pan of the bread machine. Put the yeast in the yeast compartment. Switch the machine on.
- 6
The program selection is different depending on the bread machine. Just choose the one that allows you to take the dough out after the 1st rising.
- 7
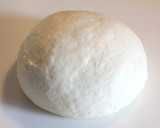
When the program is finished (after the 1st rising), take the dough out of the machine.
- 8
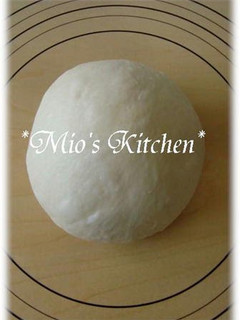
Make a ball with the dough, and cover with a moistened and wrung out kitchen towel to prevent drying out. Leave it to rest for 10 minutes.
- 9
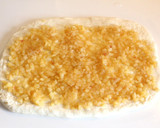
Roll the dough out into a 25 cm x 20 cm rectangle. Leave a 3 cm gap on the far long edge, and spread the apple filling over the rest evenly.
- 10
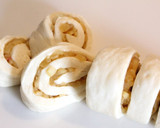
Roll up the dough from the edge closest to you. Pinch the seam closed.

- 11
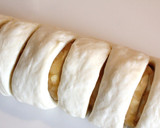
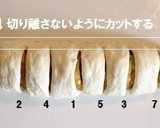
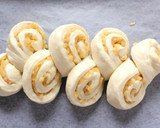
Roll the bread over so the seam on the far side. Make about 7 cuts in the bread, being careful not to cut all the way through or cut through the seam (See Step 12).
- 12
♥Start by making a cut in the middle ①, then in the middle of each side ② and ③, and finally make 4 more cuts at ④⑤⑥ and ⑦.
- 13
Put the bread on a parchment paper lined baking sheet with the seam side down.
- 14
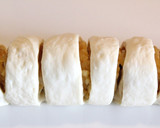
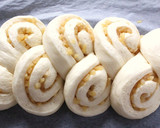
Pull the cut sections to the left and right alternately, twisting them so the cut sides are facing up.
- 15
The key is to pull the slices strongly to the left and right, and to make sure the spiral cut sides are facing up.
- 16
Cover the bread with plastic wrap and a moistened kitchen towel. Leave to rise for 15 minutes at 105F/40C (in a preheated oven).
- 17
After 15 minutes in the oven, take it out and let it rise for another 10 to 15 minutes at room temperature. (This is because we need to preheat the oven for baking.)
- 18
Preheat the oven to 375F/190C. Start preheating as soon as you take out the baking sheet in step 17.
- 19
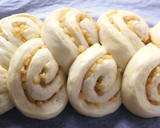
The bread should be puffy and about doubled in bulk. Even if you let it rise completely at room temperature, it's the same.
- 20
Brush the surface with a beaten egg.
- 21
Bake for about 14 minutes at 375°F/190°C.

- 22
When taking the bread out of the oven, it's very big and light so take out the baking sheet and slide the bread onto a cooling rack.
- 23
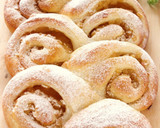
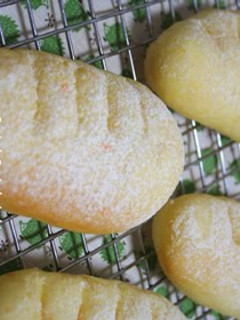
Cool the bread on a rack. Dust powdered sugar using a tea strainer, and it's done!
- 24
If you have the type of bread machine where you add yeast with the flour, add it in a way that it's not touching the salt.
- 25
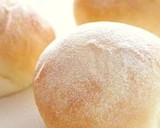
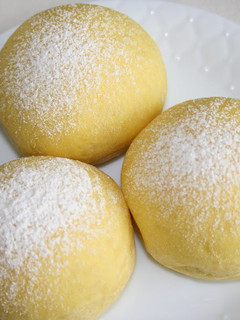
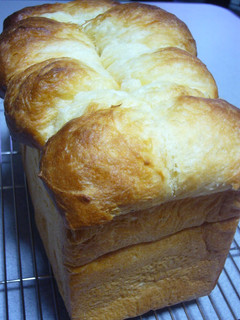
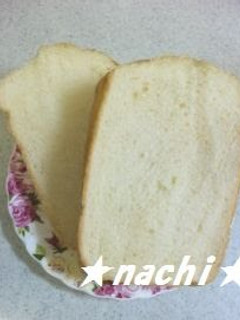
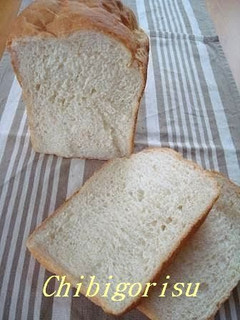
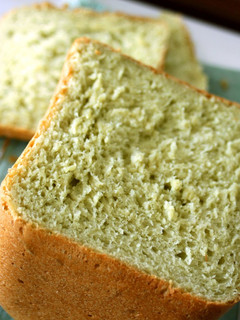
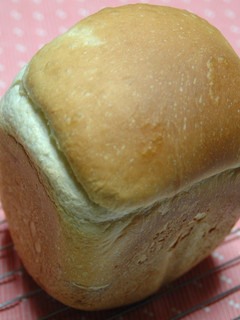
This is a basic bread dough. Mild and sweet fluffy milk bread -.
- 26
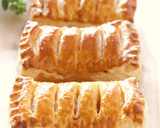
Using the same apple filling - Easy! Basic apple pie..
Linked Recipes
Reactions
Cooksnaps
Did you make this recipe? Share a picture of your creation!

Written by
Similar Recipes
Made in a Bread Machine- Fluffy Tea and Apple Bread
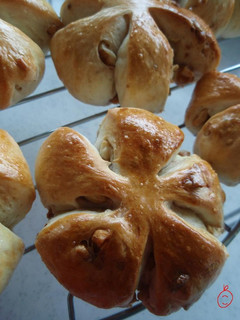
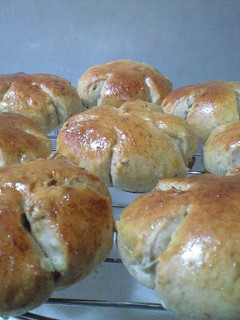
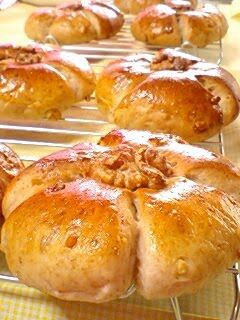
Light and Fluffy Walnut Bread in a Bread Machine
Soft and Fluffy Apple Ring Bread Using a Bread Machine !
Light and Fluffy White Kabocha Squash Bread - Made in a Bread Machine
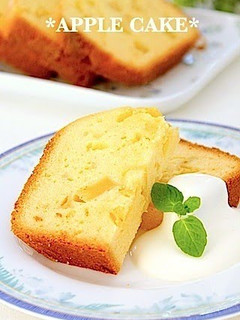
Apple Cake in a Bread Machine
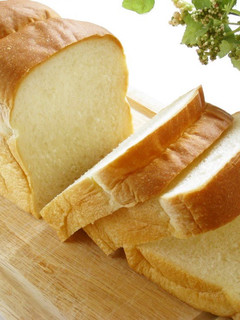
Fluffy Loaf Bread in a Bread Maker
Fluffy Carrot Bread Made in a Bread Maker

Fluffy Sandwich Bread with Milk (in a Bread Machine)
Chocolate Marble Bread Made in a Bread Machine
Smooth, Light and Rich Bread Made With a Bread Machine

HBで手作り☆フワフワ丸パン

Mildly Sweet and Fluffy Milk Bread Bread Machine Version

Rice Flour Sandwich Bread Made in a Bread Machine
Using a Bread Machine! Fluffy Walnut Bread
Pineapple Bread Made in a Bread Machine
Fluffy Sandwich Bread Made With a Bread Maker
Walnut Bread Kneaded in a Bread Machine
Honey Milk Walnut Bread (Whole Wheat Flour) Made in a Bread Machine
Simple Loaf Bread Using a Bread Machine
Fluffy Egg Salad Rolls in a Bread Machine

Fluffy Bread Dough
Carrot Bread in a Bread Machine

Moist, Fluffy, White Bread in the Bread Maker
Bizcocho de manzana rico, rico. En panificadora

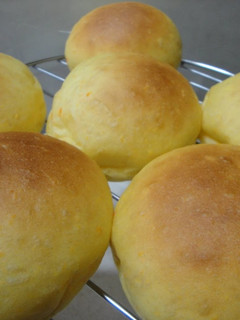
Light and Fluffy Basic Bread Dough Bread Rolls
Extraordinarily Moist! Creamy Avocado Bread Made in a Bread Machine
Milk Loaf Bread in a Bread Maker
Basic Bread Dough Using a Bread Machine
Heart-shaped Strawberry Milky Bread In a Bread Machine

Comments