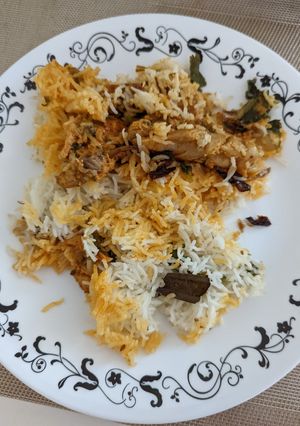
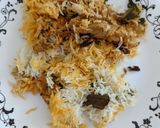
Hyderabad Chicken Dum Biryani
Biryani is my favourite dish. There were days when I was in college, I ate biryani on 5 out of 7 days in a week :)
But after moving out of India, I never found an authentic one which satisfied my cravings. So I started cooking my own version and after numerous attempts and experiments, this is my best version and my go-to recipe to eat a satisfactory biryani now.
I cook Biryani for special occasions as it is quite time consuming but any day, it is worth the effort.
And a small story on what exactly is DUM in the DUM biryani. Usually in Hindi or Urdu, DUM is called "breathing", so in this dish, the rice and chicken breathes the aromatic spices to get those beautiful flavours.
Please cook this recipe and let me know how it comes out.
Steps
- 1
Chicken Marination:
Important this is done first, as we need to keep aside the marinated chicken for 30 min - 1 hour. Longer the better.
First add all the marination ingredients (Except Yogurt) and a table spoon vegetable oil to the chicken and mix them up.
It is important you don't Yogurt in the above process, because adding Yogurt doesn't let the spices apply properly onto the meat.Once this is done, add the yogurt and mix them (like the image below). Set aside for 30 min - 1 hour.
- 2
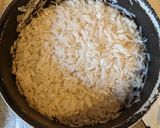
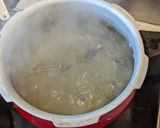
Wash the Basmati rice by filling the bowl with water to a certain level, gently run through your fingers and drain the water. Repeat this process 2-3 times so the rice is cleaned.
Lastly, Drain the water as much as possible and keep aside the cleaned rice.
This step is important too, as this will help in rice layering beautifully in the last step.
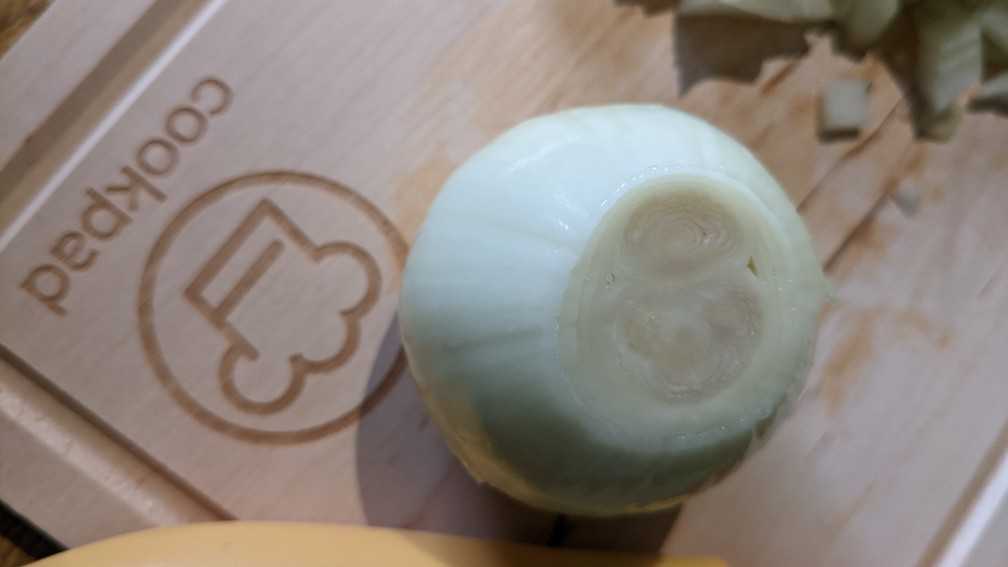
- 3
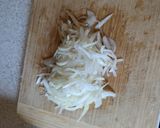
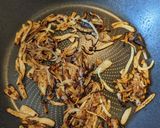
Cut the onion into long slice and gently crush them with your fingers. I know this will result in tears in your eyes but I follow this tip from Emma
- 4
Heat a pan, and add 1 table spoon of oil. Now add the crushed onions and with a pinch of salt.
Once the colour is turning brown, add a 1/2 tea spoon Sugar to caramelise the onions. These are your fried onions.
- 5
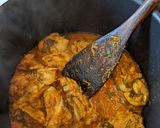
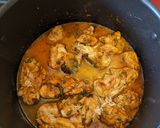
Now bring a flat surfaced bowl onto the stove, with high heat on.
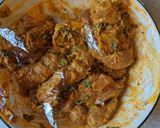
Add 1/2 tea spoon vegetable oil and add the marinated chicken into it.Let the bottom layer of the chicken fry in the oil for a minute, and then put it into medium flame by closing the bowl with a lid. After a while (5-7 min roughly), the chicken mixture will become a bit liquidy (this is because of the yogurt that we added in the marination)
After this, put the flame to low heat (2/10), and close the lid.
- 6
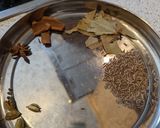
Get your rice preparation ingredients ready like below.
In an other bowl, get the water to boil, and add all the ingredients to the boiling water. Enjoy the sudden rush of aroma here. It's my favourite part.
- 7
Now, let the rice cook to a 70-80% level i.e. if you chew a rice grain, it should be almost done but completely cooked.
Once it is 80% cooked, take it off the heat as we don't want the rice to be cooked anymore.
Take a cup of water from this and pour into the chicken that is on the low flame. If you feel the chicken is a bit dry, pour 2 cups of water.
- 8
Now, transfer the rice to the chicken bowl and layer it up i.e. top layer of the rice should touch the chicken and the bottom layer of the rice be at the top.
To make this easy, Use a strainer to first remove all the water and then use a spoon to transfer the rice.
- 9
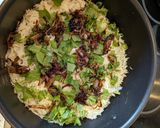
Now, add some more chopped coriander, mint and fried onions on top of the rice (like image below)
- 10
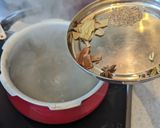
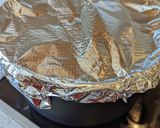
Close the bowl with an aluminium foil so that the flavours don't escape the bowl and lose with a heavy weight on top of the bowl

- 11
Change the flame from low to medium or medium-high and let it breath the flavours for roughly 10-12 min.
- 12
After 10-12 min, take it off the stove and rest it for 5 more min.
Then, remove the weights, open the foil, and enjoy the flavours.
Tips
Cooksnaps
Similar Recipes
More Recipes
-


-


-

Chicken Breast in Texas Barbecue Sauce

-
")
Green Chilli Pickle (Quick Version)

-


-


-

-
")

-

 Akshita
 -


-

Jamun shots / Indian Blackberry Shots

-

Honey lemon thyme roast chicken

-

-


-

Garlic rice cooked with pressure cooker

-


-


-


-


")


Comments