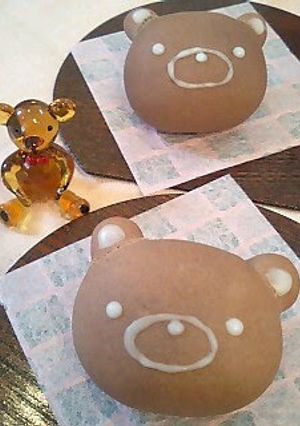
Bear Buns
I saw a really cute sweet the other day... a bear shaped macaron. It was so cute I wanted to make one myself, but I've never made macarons and they seem difficult. So I decided to make bear shaped buns instead. (Translator's note: In Japanese, both names are puns: the bear (kuma)-shaped macaron was a 'kuma-caron', and the bear-shaped bun (manjuu) is a 'kuma-njuu'.)
The amount of milk to add to the pancake mix may differ depending on the brand. When adding more milk after the first tablespoonful, add by droplets. Knead the dough well, when it's smooth and not sticky it's OK. If the dough cracks when you flatten it, add a bit more milk. For 3 buns. Recipe by Shiropiyo
Steps
- 1
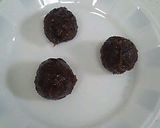
Divide the tsubu-an into 10-12 g portions and roll into balls.
- 2
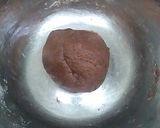
Put the ☆ ingredients in a bowl. First add just 1 tablespoon of milk and mix, then check the consistency of the dough. If it's dry, add a tiny bit more milk. Knead the dough until it's shiny and doesn't stick to your hands.
- 3
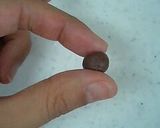
Take 6 small bits of dough and roll them into balls to form the ears. Divide the rest of the dough into 3 pieces.
- 4
Flatten one of the 3 pieces of dough on your hand, and put a piece of the tsubu-an on top.
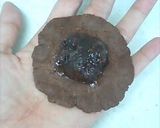
- 5
Gather the dough around the tsubu-an ball.
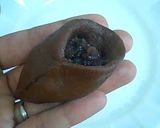
- 6
Close up the dough and roll to form a ball.
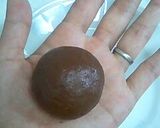
- 7
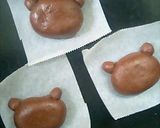
Form the face into an oval and place on a piece of parchment paper. Press the ears on the face ball.
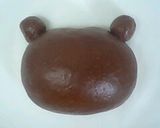
- 8
Bake for 10 minutes at 320F/160 C.
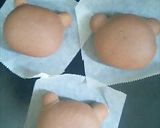
- 9
Done! Cool the buns on a rack.
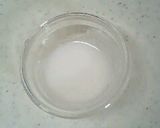
- 10
Add a tiny bit of water to the powdered sugar to make stiff icing. Draw faces on the buns using a toothpick.
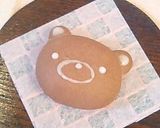
- 11
It looks like this. The bun is finished. Please draw a face that you like. I think you could make a panda, or a Hello Kitty. I'll try it those out when I have time.
- 12
Put into a case made for Japanese sweets... it looks like something sold in a store! If the buns harden the next day, microwave for 5 seconds and they'll become soft and fluffy again.

Cooksnaps
Did you know that you can import recipes from anywhere into Cookpad with one click?
https://blog.cookpad.com/us/cookpad-recipe-import-feature-save-recipes-from-anywhere/
Download Cookpad app to plan your meals and store your cooking ideas in one safe place! https://cookpad.wasmer.app/us/download
Similar Recipes
More Recipes
-


-


-


-

Crispy Fried Potatoes with Vinegar and Salt
 Phenny Sharon
 -


-


-


-


-


-


-


-


-


-

Vickys Homemade 'Sprite', 'Cream Soda' and 'Cola' GF DF EF SF NF

-

Chicken Avocado Salad w Cilantro

-

I Lost Weight with These! Complete Okara Cookies

-

Easy with Pancake Mix Tofu and Roasted Soy Flour Cake
-

No-Fuss One-Bowl Soft Sesame Seed Rice Crackers
-

Pork and Shirataki Noodle Stir-Fry with Shiso
-


-
Vickys Homemade 'Sprite', 'Cream Soda' and 'Cola' GF DF EF SF NF
-

Vickys Sweet Garlic Chicken, GF DF EF SF NF
-

Green Beans with Bacon & Onions

-

Simple Flour Uirō Steamed Cake
-


Comments