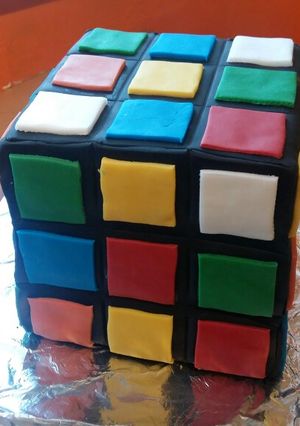
Vickys Rubik's Cube Cake Decoration Idea
The twins love all things retro and after receiving more Rubik's toys for Christmas (The Snake lol, I'm a master haha) they asked that their Birthday cake be a scrambled cube!
Vickys Rubik's Cube Cake Decoration Idea
The twins love all things retro and after receiving more Rubik's toys for Christmas (The Snake lol, I'm a master haha) they asked that their Birthday cake be a scrambled cube!
Steps
- 1
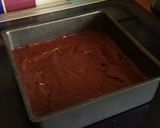
To make my 3 layers I used my avocado chocolate cake recipe and baked the whole batch in a 9"x 9" square tin. I've advised a 7"x 7" in the ingredients list. I'll show you why in a minute...
- 2
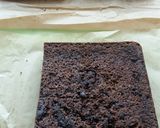
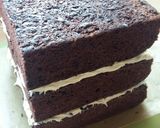
After cooling, trim so the height of the 3 layers stacked is the same as the width of each layer. Mine was 6"high taking jnto account the buttercream extra height allowance so I trimmed the layers to 6" squares. I knew here I had far too much cake so instead of squaring the whole layer I only cut 2 side. You should square every side. Again, you'll see why in a minute...
- 3
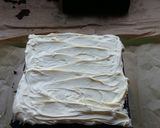
Spead buttercream over the top of the bottom layer and add the next layer. Repeat and add the top layer
- 4
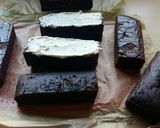
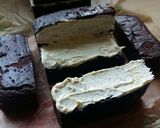
When I trimmed mine (I used the 9"x 9" tin as I wasn't sure how much they'd rise in it) I ended up with enough offcuts to make a second cake just half an inch smaller cube than the first 😂

- 5
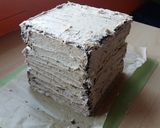
Cover the whole cake with a thin layer of buttercream. This is your crumb coat. It doesn't have to be neat. We're putting another coat on top
- 6
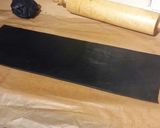
Roll out your black icing. The aim is to fit the covering on it 2 steps. A rectangle measured to fit over the width and length of 1 side and the top square then another to fit the dimensions of the 3 sides that are left. You may find it difficult without help from another available pair of hands. If so, cut a rectangle to fit the top draping down over the 2 oppisite sides then cut single squares for the 2 sides that are left
- 7
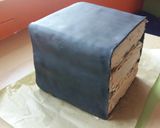
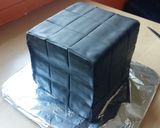
Add you second coat of buttercream to the cake and smooth off. Hang your first recangle of black icing and smooth down and trim any excess
- 8
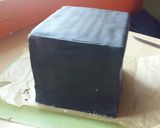
Add the next piece or pieces, smooth, trim down, done! That was easier than you thought wasn't it!
- 9
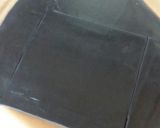
Use the back of a knife to mark the Rubik's squares
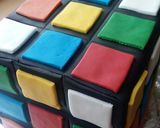
- 10
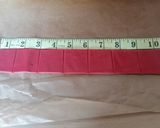
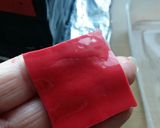
Now the fun part. We have 5 faces of coloured squares to stick on! 9 squares in a grid × 5 sides to decorate = 45 squares. In 6 different colours this means you need to cut 7 squares from 3 colours and 8 squares of the other 3 colours. Measure each space on the Rubik's cube and make your coloured squares half a cm smaller
- 11
Lightly wet the back of each square and randomly place on the cake. Remember each side has a different coloured middle square! That helps you with the pattern

- 12
And with the final colour you're done! Ignoring baking and cooling time, decorating one cake took me around 2 and a half hours
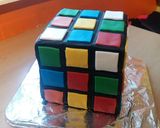
- 13
Add your candles and any other decorations and prepare for everyone to be impressed!
Cooksnaps
Similar Recipes
More Recipes
-


-


-


-
")
Nigerian Chin Chin (Deep Frying)
-

Cow Patties, aka Chocolate Peanut Butter Oatmeal Cookies

-


-


-


-


-

-


-


-


-


-

 Prerna Agarwal
 -
")

-


-


-


-

Maranggi-spiced chicken breast satay


")


Comments (4)