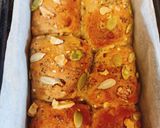
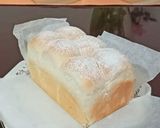
Japanese Angel Soft Milk Loaf
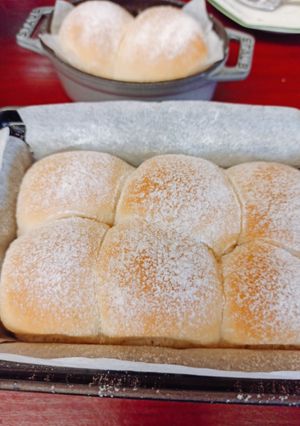
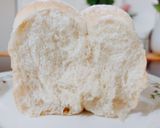
It is a Japanese style super soft milk bread. It is perfect as dinner rolls. It reminds me of my childhood!
Here is the video to show you how soft they are:
https://www.instagram.com/p/B_YWiW6nIfo/?utm_source=ig_web_copy_link
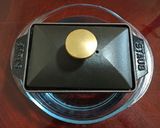
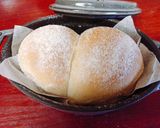
As I live alone, I used small bakeware which is 9x14x7cm and I used six balls and two balls in 11cm cocotte. So, they are quite a small portion. They will serve for only one or two people.
Japanese Angel Soft Milk Loaf
It is a Japanese style super soft milk bread. It is perfect as dinner rolls. It reminds me of my childhood!
Here is the video to show you how soft they are:
https://www.instagram.com/p/B_YWiW6nIfo/?utm_source=ig_web_copy_link
As I live alone, I used small bakeware which is 9x14x7cm and I used six balls and two balls in 11cm cocotte. So, they are quite a small portion. They will serve for only one or two people.
Steps
- 1
Lay parchment sheet or oil the bread tin
- 2
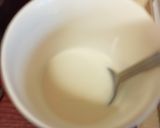
Heat the milk in a pa to make it warm. Please never make it too hot as yeast will die at 60 degrees. Around the temperature of bath would be perfect. If it is too hot, leave it till it becomes warm.
- 3
Add yeast into the warm milk and mix well.
- 4
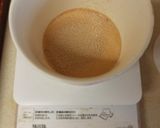
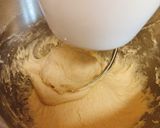
Add flour, sugar, salt in a bowl or on board and mix them. Then, add the warm milk and mix them. Then, knead by hands for about 10 mins on a board or knead for about 7-10 mins with a stand mixer using a kneading hook until gluten has created and the dough does not stick to the bowl. The time will depend on your machine.
- 5
Please knead well here until the dough becomes stretchy and gluten is formed. When gluten is formed, you touch the dough and it doesn't stick to your hand. Also if you stretch it becomes very thin sheet almost see-through it. I use speed 2 or 3 on my stand mixer. If you too strong, it becomes very sticky.

- 6
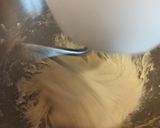
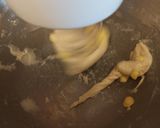
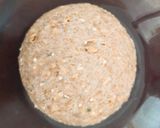
Add chopped or soft butter and knead further for about 3-5 mins until the dough becomes smooth and not stick to the bowl like the last photo. It should look silky and smooth.
- 7
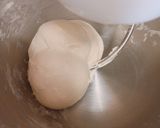
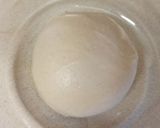
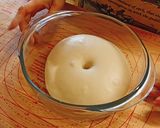
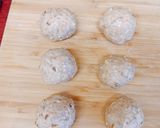
Take the dough out and make it round with the motion on tucking inside at the bottom. It should become smooth like the photos below. If it is still too sticky, you need to knead with hands until it becomes easier to handle it. I usually hit it like a ball and it will become less sticky and smooth.
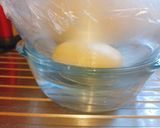
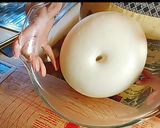
Add seeds or nuts if you wish. Cover it with cling film and leave it for 30-40 mins until it becomes about twice. It can take much longer. I put a hot water with 36-45℃ beneath like the last photo.
- 8
Test the fermentation with a finger coated by flour. If it is the hole remains, the first fermentation has been done.
- 9
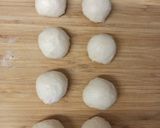
After having tested the fermentation, take out the dough and punch it down. Make it round again. Cut it into 8 (16) or 6 (12) pieces depends on how you like. Make them round. Place them in with the tucked parts as the bottom. Cover it with a damp cloth and leave 15 mins.
(You could omit this resting step. However, you will get a better result if you do. When I prepare at night and leave them in the fridge, I omit it as it seems it does not make many differences, if I leave them in the fridge.)
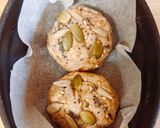
- 10
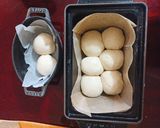
Make them round again with the motion of tucking and place them in the bread tin with the tucked parts on the bottom. Add some more seeds on the top, if you wish.
(If you wish to bake them in the morning, you could leave them overnight in the fridge till next morning.)
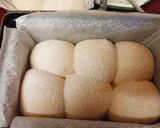
- 11
Leave it in a warm place until it becomes 2-2.5 times, usually for about 30-60 mins, depends on the room temperature and the yeast. Dust them with flour. (The second fermentation)
If you left them in the fridge overnight, please put them in a warm water bath beneath or something. Otherwise, it will take for ages to get this second fermentation done. When the yeast was strong, it is already ready to bake when you take out from the fridge. Then, omit the second fermentation. )
- 12
Preheat the oven at 180℃.
- 13
Put the bread tin in the oven and turn down the temperature as 160℃.
Then, bake at 160℃ for about 18 mins. Please make sure you reduce the temperature to 160℃. If you bake at 180℃, your bread becomes harder. If your oven is powerful enough and it does not go down the temperature when you open, just preheat it as 160℃.
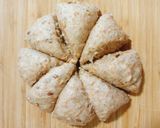
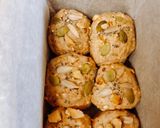
- 14
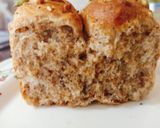
After having baked for 18 mins, it is done. You can see the video of how soft they are at: https://www.instagram.com/p/B_YWiW6nIfo/?utm_source=ig_web_copy_link
- 15
You can make character breads with this dough such as bear, cat, Totoro, rabbits etc which children love.
Bear recipe is here. https://cookpad.wasmer.app/uk/recipes/12351787-milk-bear-loaf


- 16


- 17
Decorated with those.


Cooksnaps
Similar Recipes
More Recipes
-


-

Instant Pot: Chicken Cheese Rolls

-

Foxtail Millet Veg. Sushi Rolls

-


-

Chicken & Thyme Pie in Light Onion Gravy

-


-
")
Healthy and Nutritious Amaranth Halwa (Rajgira)

-

Nutella Banana Peanut Butter Spring Rolls

-


-


-

Zinger roll with tortilla bread

-

Pori with halwa and sour potatoes curry

-


-


-


-


Comments (11)