

![A picture of Chicken Tikka[ Own recipe].](https://img-global.cpcdn.com/recipes/257da0e9224e42f8/300x426cq80/chicken-tikka-own-recipe-recipe-main-photo.jpg)
Chicken Tikka[ Own recipe]

Chicken Tikka[ Own recipe]
 Open in Cookpad App
Steps
- 1
Wash and make slits or cuts on Tikka. Soak in water, vinegar and 1/2tsp red chilli powder for 15 minutes and strain..
- 2
In a bowl, add tandoori masala, Tikka masalah, 1/2tsp red chilli powder,zeera powder,salt to taste, garam masala powder, dahi, colour, mix and coat properly on Tikkas.
![A picture of step 2 of Chicken Tikka[ Own recipe].](https://img-global.cpcdn.com/steps/fb1592025ac6c2ee/160x128cq80/chicken-tikka-own-recipe-recipe-step-2-photo.jpg)
![A picture of step 2 of Chicken Tikka[ Own recipe].](https://img-global.cpcdn.com/steps/44764f3d83b1d9db/160x128cq80/chicken-tikka-own-recipe-recipe-step-2-photo.jpg)
![A picture of step 2 of Chicken Tikka[ Own recipe].](https://img-global.cpcdn.com/steps/09beed8504c7c40d/160x128cq80/chicken-tikka-own-recipe-recipe-step-2-photo.jpg)
- 3
In a frying pan add oil 2 Tbsp, add Tikkas. At medium flame cook both sides for 2 mint:. than low the flame and cover the pan. Cook both sides, till 3/4th done.
![A picture of step 3 of Chicken Tikka[ Own recipe].](https://img-global.cpcdn.com/steps/e0b11b53bca737d8/160x128cq80/chicken-tikka-own-recipe-recipe-step-3-photo.jpg)
- 4
Now put any jali or grill on stove, at low flame for 10 min:. Brush oil. Squeeze lemon juice with pinch of black pepper and serve.

Similar Recipes
More Recipes
-

-

-
 Kumkumdixitd
 -
Perfect Chocolate Chip Marshmallow Cookies

-
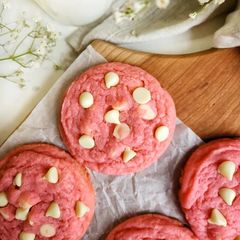
Pink White Chocolate Chip Cookies
-
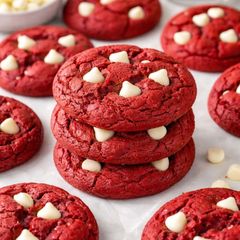
Red Velvet Cookies with White Chocolate Chips
-
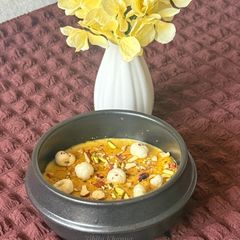
Makhana Kheer (with Nolen Gur)

-

-

-

-

-

-

-

The best chocolate chip cookies ever

-

-

-
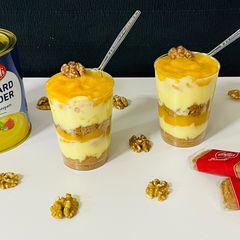
Mango Custard Pudding with Walnuts

-

-

-

-
-

-




Comments (2)