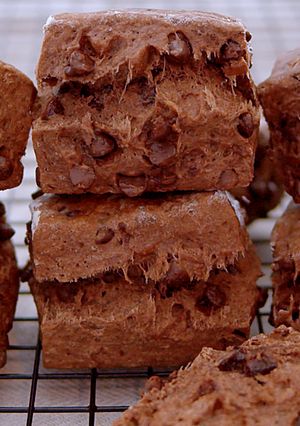
Chocolate Scones | Chocolate Chip Cocoa Scones
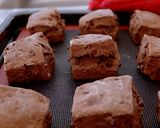
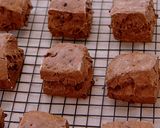
Delicious cocoa scones with plenty of chocolate chips. When freshly baked, they are crispy on the outside and fluffy on the inside. The next day, they become moist and chewy, providing a satisfying texture. Both versions are equally delicious!
Chocolate Scones | Chocolate Chip Cocoa Scones
Delicious cocoa scones with plenty of chocolate chips. When freshly baked, they are crispy on the outside and fluffy on the inside. The next day, they become moist and chewy, providing a satisfying texture. Both versions are equally delicious!
Steps
- 1
My YouTube Recipe Channel→ Fumie's Recipe
https://youtu.be/o76NhHfIyFE
- 2
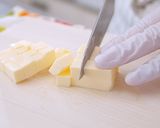
☆Preparation:
Line your baking sheet with parchment paper or a silicone mat.
Cut the well-chilled butter into 1cm cubes.
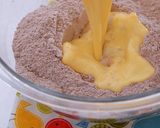
Mix the beaten egg and milk well.In a large bowl, put the diced butter and bread flour.

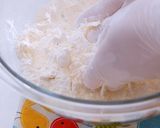
- 3
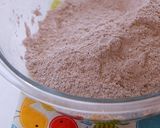
In a large bowl, put the diced butter and bread flour, and rub the butter with your fingers to mix well with the flour. Be careful not to melt the butter. Sift in the cocoa powder using a tea strainer. Add baking powder, granulated sugar, and salt, and mix well by hand.

- 4
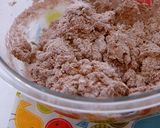
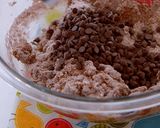
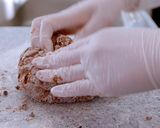
Add the egg and milk mixture, and fold it until comes together roughly. with a spatula. Add the chocolate chips, and fold roughly until they are distributed.
- 5
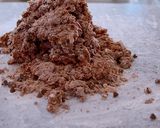
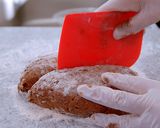
Take it out on a floured work surface. Please scrape out all the mixture from the bowl. Knead it gently for only 1-2 minutes, and gather it. Be careful not to knead it too much. Press it flat, cut it in half, and stack it. Repeat this process 5 times.
- 6
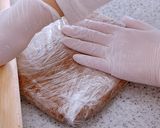
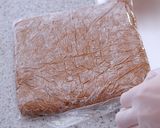
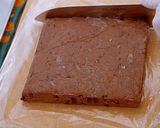
Use a rolling pin to shape the dough into a 15cm x 15cm square (about 2cm thick). Put it in the freezer for 30 minutes. Preheat the oven to 220℃/ 428 F during that time.
- 7
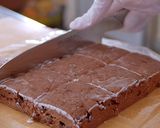
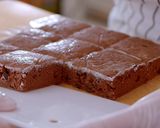
Dust the knife with bread flour, and thinly cut off the four sides of the dough. Divide it into 9 equal parts while dusting the knife with flour each time. Be careful not to touch the cross-section and arrange them on a baking sheet with space between each.
- 8
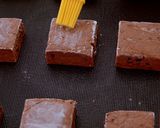
Brush with milk, being careful not to drip on the sides (optional). Bake at 220℃ / 428 F for 3 mins, then 190℃ / 374 F for 13 mins, for a total of 16 minutes. Transfer to a rack and cool well.
★When completely cooled, store them in an airtight container to prevent them from drying out. Best eaten within 2-3 days. They are also delicious when warmed up just before eating.
Keywords
Similar Recipes
More Recipes
-


-

Non-Fried Egg Yolk & Veggies Pakora

-


-


-

Egg Bread Roll | Crispy & Tasty Breakfast Recipe

-
")
Dad's Favourite Ofe Akwu (Banga Stew)

-

Oats Cranberry and Nuts Cookies

-
")
Crunchy & Fluffy Nutty Sabudana Khichdi (Rainy Day Special)

-

Crispy Protein-Rich Soya-Veggie Pakoda

-


-

White Cheddar Mac N Cheese with Chicken & Kale

-


-

 Debra
Debra -

California Farm Cast Iron Chicken Coq-au-Vin Dinner

-


-
White Cheddar Mac N Cheese with Chicken & Kale
- e s
-


Comments