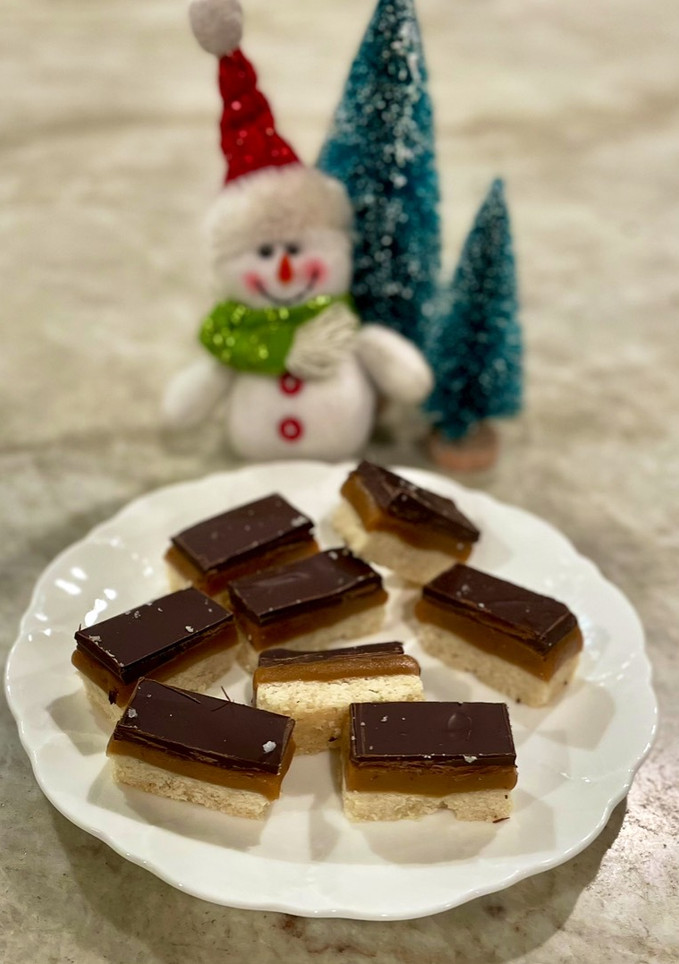
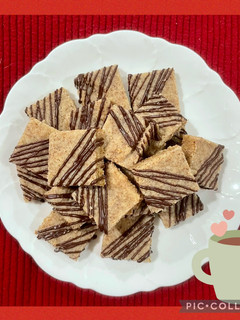
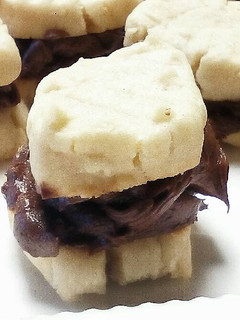
Millionaire Shortbread
This classic British treat is irresistible. After all, who could resist buttery shortbread topped with chewy caramel and chocolate? These cookies are like posh Twix bars. 😋 And the best thing is that you can make them with basic ingredients! Yes, they do take a little time to make, but this recipe makes a LOT of rich, decadent little bars, so be sure to share them with family and friends!
Cooking Instructions
- 1
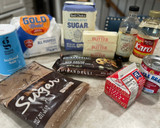
Gather the ingredients.
- 2
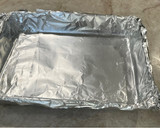
Line a 9x13” pan with aluminum foil. Set aside.
Preheat the oven to 350°F (177°C).
- 3
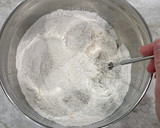
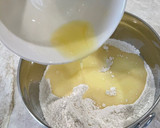
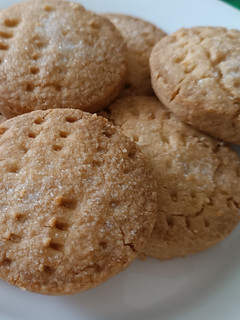
Make the crust. Whisk the flour, sugar, and salt in a bowl.
- 4
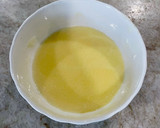
Melt the butter. I used a microwave, but you can also use the stove.
- 5
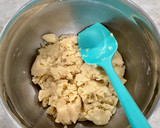
Pour the melted butter over the dry ingredients and mix gently until a dough forms. Do not overmix.
- 6
Place blobs of the dough evenly over the bottom of the pan, then use your fingers to gently press it to an even thickness. Use a fork to pierce the dough at approximate 1 inch intervals.
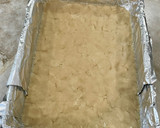
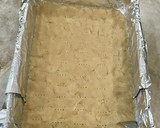
- 7
Bake the crust in the preheated oven for 25 to 30 minutes. The dough will be very lightly golden. Cool the pan on a wire rack.
While still warm, use a spatula to gently compress the dough. This will make it easier to slice later.
Let the crust cool until just warm. This takes about 20 minutes. - 8
Next, make the caramel layer. In a Dutch oven, or a heavy bottomed pot, combine all the caramel ingredients.
Cook over medium low heat, stirring constantly. The mixture should eventually bubble gently. You may have to reduce the heat a little to avoid any scorching.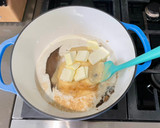
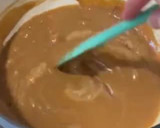
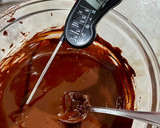
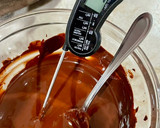
- 9
You will need to stir constantly and cook the mixture for 16 to 20 minutes, or until it reaches 236 to 239°F (113°C to 115°C). This temperature is the “softball stage.”
I don’t have a candy thermometer, so I used a meat thermometer to monitor the temperature.
You can also test the caramel by dropping a small glob of it into cold water. It should form a soft, pliable ball.
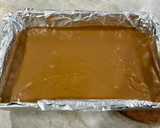
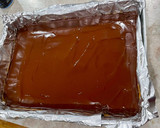
- 10
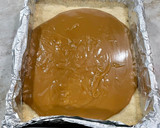
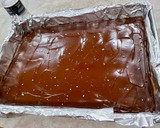
Once the caramel reaches the proper temperature, pour it over the crust. Tilt the pan so that the caramel covers it in an even thickness. Let the caramel cool for 1.5 hours.
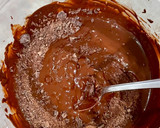
- 11
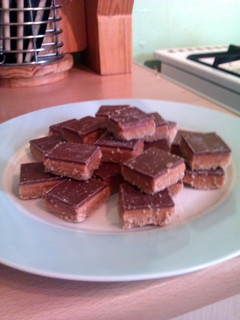
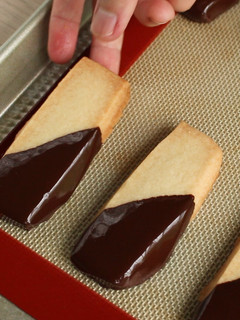
Finally, make the chocolate layer.
I use dark chocolate because I think it balances the sweetness of the cookie. However, you can use milk chocolate if you prefer.
The process described here tempers the chocolate so that it has a nice sheen and a crisp snap when you bite into it.
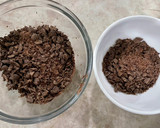
Chop the chocolate finely and place about 3/4 of it into one bowl, and 1/4 of it into a second bowl.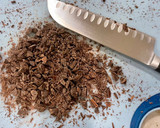
- 12
Put the bowl with the larger amount of chocolate into the microwave, and melt on high in 20 to 30-second bursts, stirring gently, until the chocolate is melted and glossy and between 114 to 118° F (57°C-59° C).
Note: if you are using milk chocolate, instead of dark chocolate, the desired temperature is between 108 and 113° F (42°C-45°C).
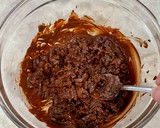
- 13
Add the remaining chopped chocolate a little at a time, stirring as you go. Stir until everything is melted and the temperature of the chocolate is 88 to 89° F (31°C-32°C).
Note: Milk chocolate should cool to 85 to 86° F(29°C-30°C).
Optional: to make the chocolate more glossy, add a teaspoon of shortening, and mix well.
- 14
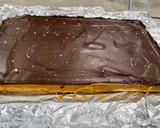
Immediately pour the melted chocolate onto the caramel, and use an offset spatula to smooth it evenly.
- 15
If you like, you can lightly sprinkle flaky salt over the top.
Allow the chocolate to cool until almost set.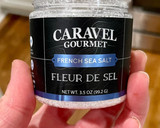
- 16
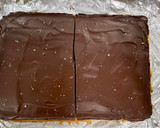
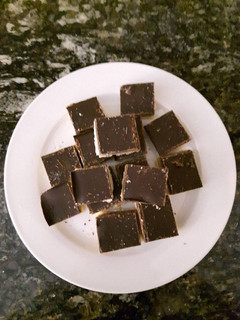
Grab the aluminum foil and carefully lift the cookies out of the pan. Peel the foil away from the sides.
- 17
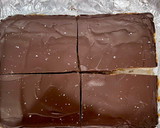
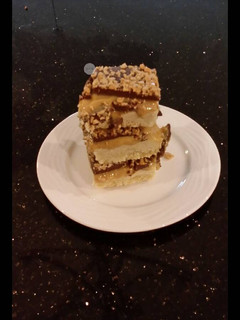
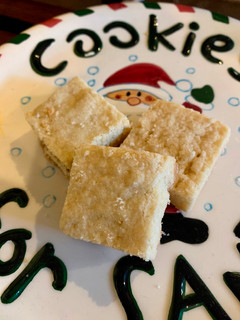
Using a sharp knife, cut the 9x13” rectangle in half vertically, then cut across horizontally. This forms 4 quadrants. Cut the lower quadrant in half vertically. Refer to the photos for guidance.
- 18
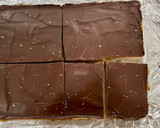
Cut the lower quadrant in half again vertically to form 4 rectangles as shown.
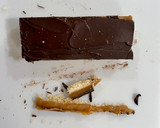
Work with each rectangle one at a time. Transfer to a cutting board and trim the edges as needed to clean them up.
Then, slice each rectangle into desired sizes. I cut them into slices about 3/4” wide.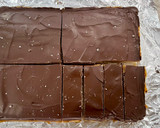
- 19
Repeat the slicing process for each of the quadrants.
Store the bars in an airtight container, stacked between sheets of wax paper or parchment paper. Refrigerate for optimal storage. The bars will keep up to 5 days in the fridge.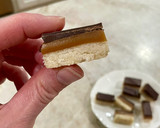

- 20
Note:
If you don’t want to temper the chocolate, simply melt it in a microwave, and pour it over the caramel layer without worrying about any specific temperature.
Reactions
Cooksnaps
Did you make this recipe? Share a picture of your creation!

Similar Recipes
Millionaire Bars (Caramel Shortbread Bars)

Shortbread
Shortbread
Vickys Millionaires Shortbread, GF DF EF SF NF VEGAN
Espresso Shortbread
Scottish Shortbread
Hazelnut Shortbread
Traditional Fraser Family Shortbread
Crispy & Crunchy Chocolate Shortbread
Scottish Shortbread
Scottish Shortbread
Shortbread Cookies
Shortbread cookies

Onion Shortbread
Classic Shortbread Cookies

Best Shortbread Cookies
Scottish Shortbread Cookies

Easy Shortbread with Margarine

Easy Shortbread Mince Pies
Lemon Shortbread
Extra buttery shortbread with triple chocolate chunks

Smiley Face Shortbread
Peppermint Chip Shortbread Cookies
White Coconut Shortbread
Shortbread Cloud Chip Cookies

Easy Shortbread with Margarine
My Chocolate Chip Shortbread Cookies
Sea Salt Caramel Shortbread Squares
Brown Sugar Shortbread Cookies

Comments (8)