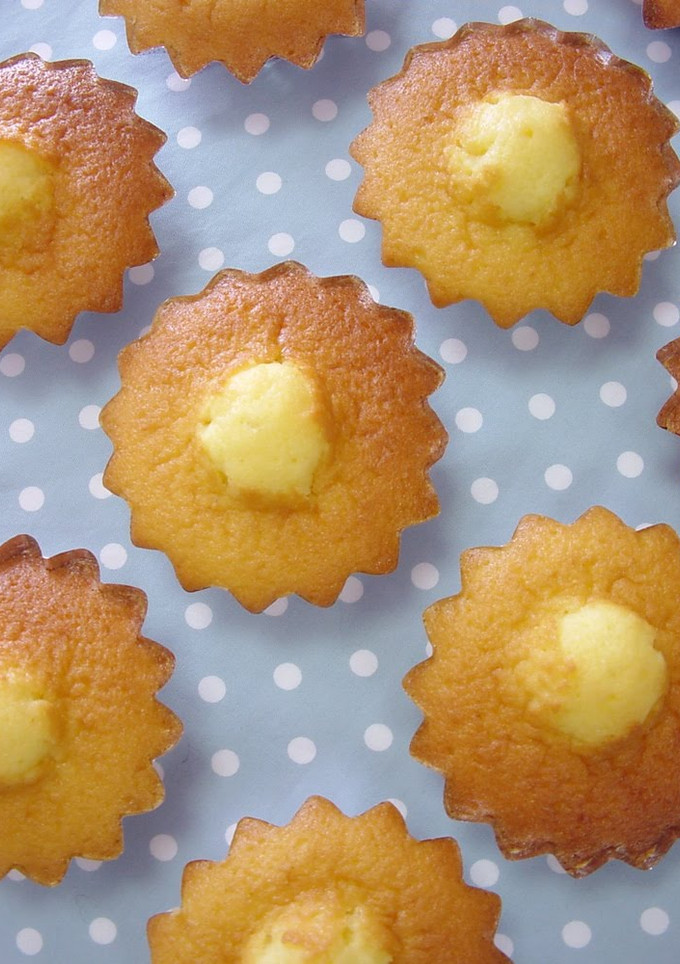
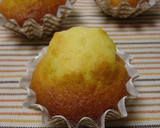
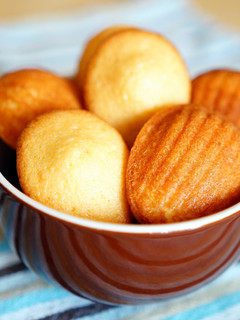
Easy Madeleines with Belly Buttons
I made these "belly button shaped madeleines" by coincidence, so I uploaded the recipe. I tried baking them several times to adjust the sweetness and tenderness to my taste. You can reduce the sugar a little bit, but if you reduce it too much you'll end up with tough madeleines.
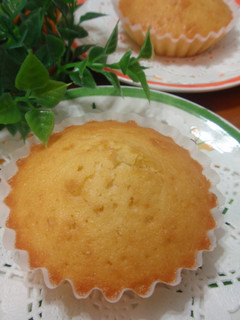
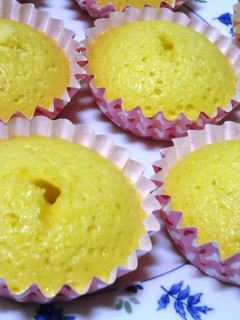
-When resting the batter and warming the baking tray beforehand, you'll have puffy madeleines with "belly buttons." However, if you rest the batter in the refrigerator, you'll get "shy" belly buttons. The madeleines didn't puff up that much either.
-Our electric oven seems to heat correctly if I set the temperature a bit lower. If you have a gas oven, you may need to preheat at 190 °C. If the madeleines are browning too fast, try lowering the heat while baking. Recipe by Raby
Cooking Instructions
- 1
Break the eggs into a bowl and beat with a whisk. Add the honey, milk, sugar, and vanilla oil and mix well.
- 2
Sift in the cake flour and baking powder into the bowl from Step 1, and mix in a circular motion using a whisk. The flour may fly out in the beginning, so be careful and mix slowly.
- 3
Put the butter in a heatproof container and melt it in the microwave. Put the melted butter into the bowl from Step 2, and mix well with a whisk. Pour the batter into cupcake molds, cover with plastic wrap and leave to rest at *room temperature* for 20 minutes.
- 4
While the batter is resting, wash the dirty dishes. Also, preheat the oven to 210°C with the baking sheet inside.
- 5
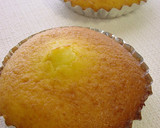
After 20 minutes, take the baking sheet out of the oven (it's hot so be careful), and quickly put on the batter-filled cups. Put the sheet back in the oven and bake for 15 minutes. When the madeleines are nicely browned, and a skewer pierced into one comes out clean, they're done.
- 6
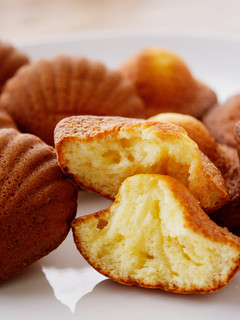
The flavor of the madeleines won't have settled yet when they are fresh out of the oven, so be sure to let them rest for half a day or more before enjoying them. As time passes, they become moist, and take on a nice sheen on the surface.
- 7
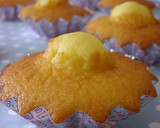
Tip: if you put the batter in a cup with a spout, it's easier to pour into the cups.
- 8
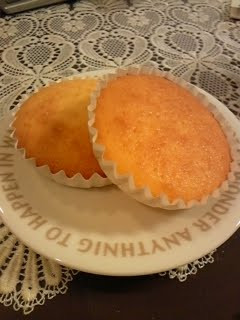
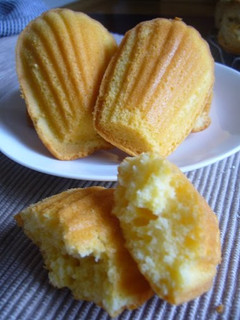
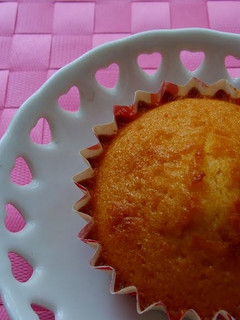
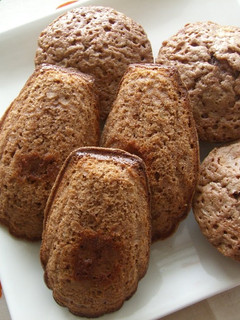
The madeleine on the left has a "belly button." The one on the right was baked without resting.

- 9
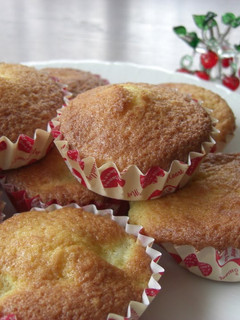
The size and shape of the 'belly button' will vary depending on the type of cup you bake the batter in - this is quite fun. Enjoy different kinds of "belly buttons" using different types of cups, as described below.
- 10
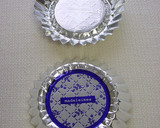
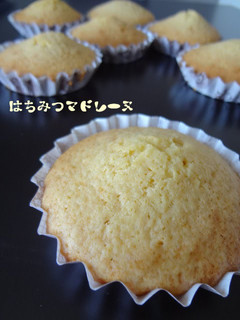
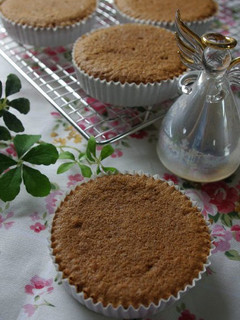
This is a 3 cm diameter mini cup that spreads out vertically. It's small but surprisingly deep.
- 11
Using the cups shown in Step 10: The "belly buttons" are more like pot-bellies, but they're cute anyway, so I like them a lot.
- 12
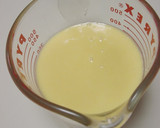
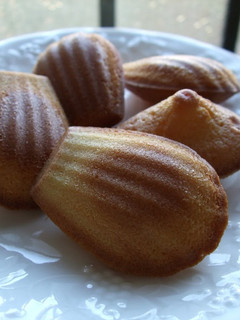
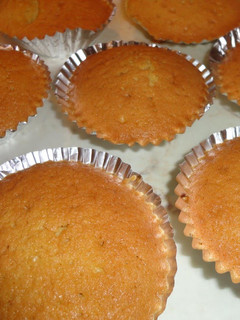
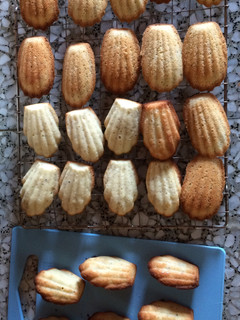
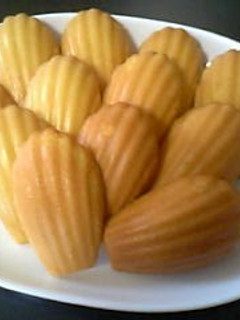
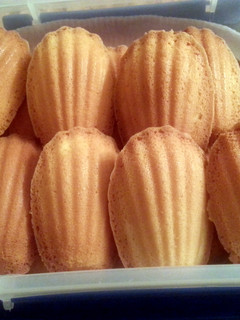
This are foil cups with 7.5 cm diameter bottoms. This is a real madeleine cup. It's flat.
- 13
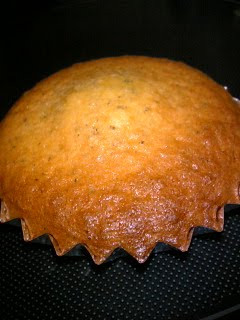
Using the foil cups shown in Step 12: If you bake the madeleines in flat, shallow cups, the "belly button" bump in the middle will be not be as pronounced.
- 14
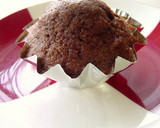
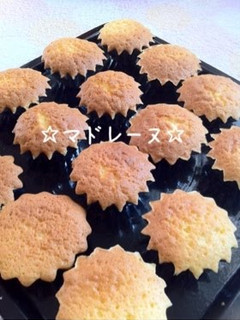
Here I used small morning glory flower-shaped cups, and added 2 tablespoons of cocoa to the batter.
Reactions
Cooksnaps
Did you make this recipe? Share a picture of your creation!

Written by
Similar Recipes

Super Easy Madeleines
Easy Basic Madeleines
Easy Madeleines with 10 minutes Prep
My Madeleines

Quick Easy Delicious Madeleines

Basic Madeleines

Fluffy Madeleines with Orange Peels

Easy and Moist Madeleines
Simple Apple Madeleines

My Special Plain Madeleines
Mini Madeleines
My Mother's Easy Madeleines
Honey Madeleines
Exquisite Madeleines
Baked Sweets! Fluffy Chocolate Madeleines

Moist Madeleines--Just Mix and Bake
Madeleines
Simple and Delicious Madeleine

French Madeleines
Luxuriously Moist Madeleines
Easy Madeleines Made with Vegetable Oil
Easy! How to Make Madeleines (Shell shaped Butter Cakes)
Madeleines

Slightly Fancy Madeleines

Very Easy Madeleines Made with Pancake Mix
Madeleines

Fluffy Moist Madeleines
Walnut and Chocolate Madeleines

Carrot Madeleines

Comments