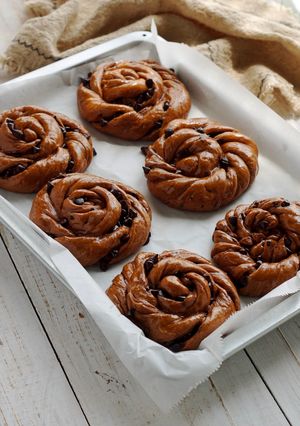
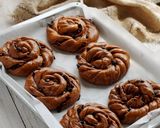
167. Choco Swirl Rolls
Soft, chocolatey, and beautifully glossy. Successfully nailed the perfect non-sticky bakery shine on these chocolate swirl buns today!
167. Choco Swirl Rolls
Soft, chocolatey, and beautifully glossy. Successfully nailed the perfect non-sticky bakery shine on these chocolate swirl buns today!
Steps
- 1
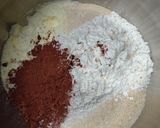
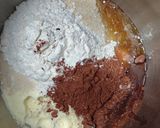
Mixing the Base: In a mixer bowl, combine all dry ingredients (bread flour, milk powder, cocoa powder, sugar, and instant yeast).
- 2
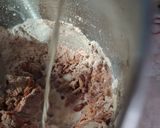
Adding Liquids: Add the egg and gradually pour in the cold milk (start with around 290g). Knead on low-medium speed until a rough dough forms. If it feels too dry, add the remaining reserved milk.
- 3
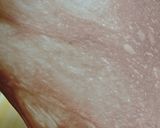
Incorporating Butter: Once the dough is semi-smooth and pulls away cleanly from the bowl, add the 40g of softened butter and salt. Increase the mixer speed and knead thoroughly until it reaches the windowpane stage (elastic, smooth, and forms a thin translucent membrane when stretched without tearing).
- 4
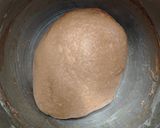
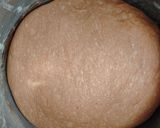
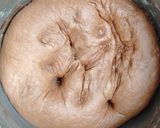
First Proofing: Shape the dough into a smooth ball, place it in a lightly greased bowl, and cover with a damp cloth. Let it rest for 45–60 minutes until doubled in size.
- 5
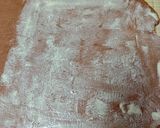
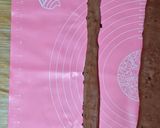
Punching & Shaping (Swirl Method): Punch down the dough to release the gas. Roll the entire dough out with a rolling pin into a large, flat rectangle (about 0.5 cm thick).

- 6
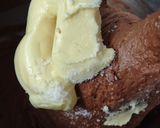
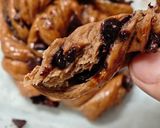
Evenly brush the butter and sprinkle the 80g of chocolate chips over the surface. Fold the dough up tightly into a half square. Pinch the seam securely.
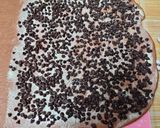
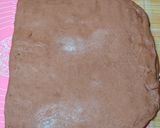
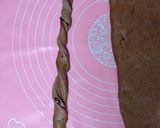
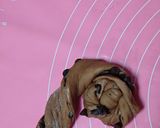
- 7
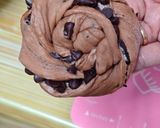
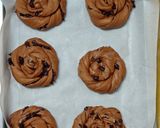
Shaping and Arranging: Cut the dough into wide strips like ribbons. Gently twist each strip and roll it up to create a beautiful internal spiral pattern. Arrange the rolls on a baking sheet lined with parchment paper, leaving enough space between them to expand.
- 8
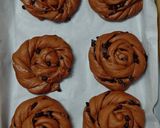
Second Proofing: Cover the rolls loosely and let them rise for another 30–45 minutes until puffy and light. Meanwhile, preheat your oven to 180°C (350°F).
- 9
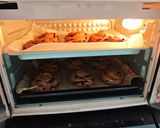
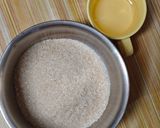
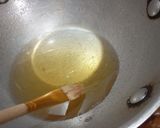
Boil the sugar and water until the sugar dissolves. Baking & Glazing: Bake at 180°C for 20–25 minutes.
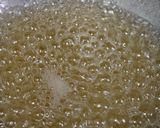
- 10
While the rolls are still piping hot straight out of the oven, brush them with the warm glaze following the curve of the swirl. Let them cool completely. Note, this glaze has result a little bit sticky. If you want dry and shine glaze you may use warm diluted apricot glaze.

- 11
Ready to serve
Tips
Note, this glaze has result a little bit sticky. If you want dry and shine glaze you may use warm diluted apricot glaze.
Use this ingredients:
2 tbsp Apricot jam or clear palette glaze
1 tbsp Hot water (to dilute)
Keywords
Similar Recipes
More Recipes
-


-


-


-


-


-


-


-

Cowpea / Black-Eyed Beans Zero Oil Cold Chaat Salad

-


-


-

Chicken and Vegetables Creamy Pasta Salad

-


-


-


-
-
")
Protein Rich Moong Dal Waffle - Dahi Vada (Waffle - Dahi Vada - No Fry)

-


-
-


-

Spicy Mutton Masala or Aloo Gosht

-


-


")


Comments