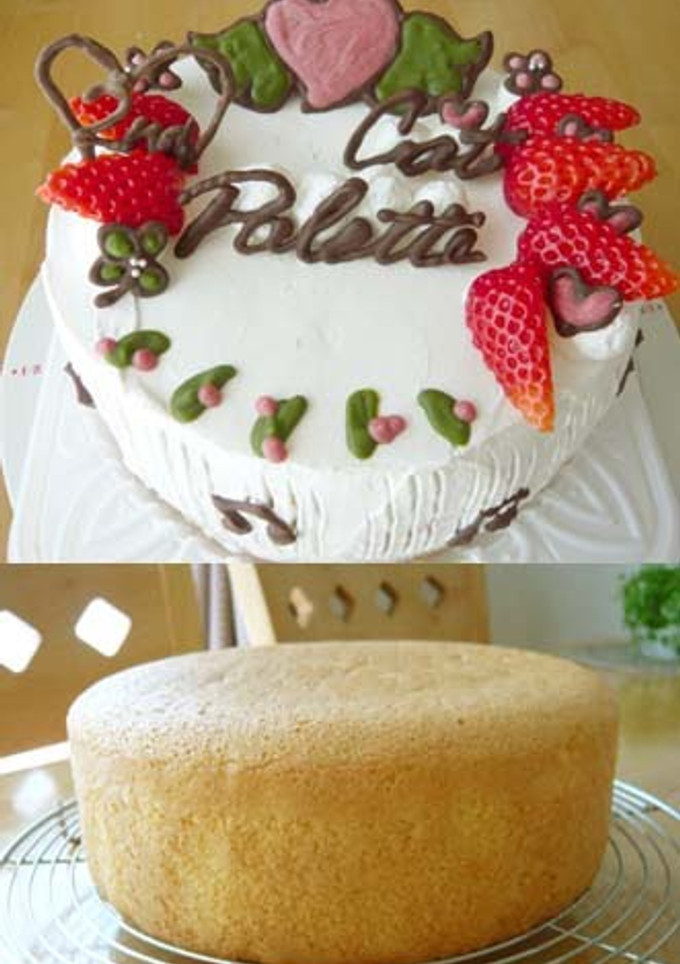
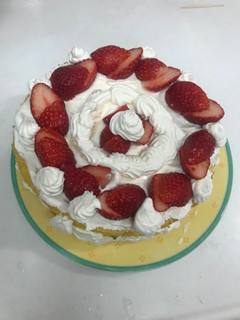
Sponge Cake
I confess that I was really inspired by a book called "A Book That Answers your Why? Questions About Making Sweets" by Kazuyoshi Aihara. I highly recommend you read the book for further details.
I reduced the calories of the recipe listed in the book as much as possible.
There are 4 important key points; if you do these properly, then you can make a beautiful sponge cake. If you use the same ingredients in the exact same order, then this is the key to not failing in mixing it. If you remember this, then there is nothing to fear. *When beating the eggs, please add in vanilla essence if you like. Recipe by Osshosan
Cooking Instructions
- 1
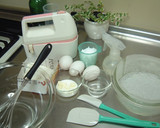
First, measure out the ingredients and sift the flour. Butter the cake pan and dust it with flour (not listed in the ingredients); chill the pan in the fridge. Alternately, or line the pan with kitchen parchment paper cut to size, and stick it to the sides and bottom. Put the * ingredients in the same container, and melt them suspended over a pan of hot water. Preheat the oven to 180 °C.
- 2
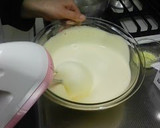
(From this point on it's a race against time: you have to finish within 15 minutes.) Crack three eggs that have been returned to room temperature into a bowl. Whip the eggs using a handheld mixer, with the bowl held over a hot water bath, while adding the sugar in 3 batches for 7 to 8 minutes. Make sure that the batter does not become warmer than 40 °C by taking it off the hot water sometimes.
- 3
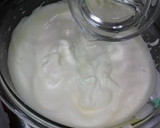
The batter should reach the point where, when the mixer is listed up, the batter stays in the beater for a while with a thick, fine bubbly texture. This is the first key point. In addition, if the temperature is too high at this point, the gluten in the flour will develop when it's added to the batter later, which will not be good. Before you've finished beating the eggs, place the bowl into cold water to lower the temperature while continue to beat on a low speed setting for 1 minute.
- 4
Add in the listed amount of water to the beaten egg. Since the flour will not mix in well if the beaten egg is too foamy, please make sure to add the water beforehand to make it more liquid. This is the 2nd key point. Whip the mixture very briefly after adding the water. Just swirl your whisk twice.
- 5
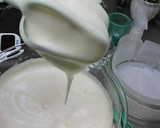
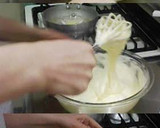
Add the pre-sifted flour in two batches. Don't use a rubber spatula. Hold a whisk almost flat on the bowl, move it in between the foam and the flour. Do not stir whatever you do. Keep holding the whisk horizontally as shown, and turn the bowl while scooping the batter straight up and down.
- 6
If you follow this step exactly, then you will not fail. While slipping the flour through openings in the bubbles, mix the batter by scooping it up and dropping the batter back in, fold it onto itself in a cutting motion, and you will be able to do it easily. This is the third key point.
- 7
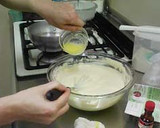
After mixing in the flour, add in the * butter and milk that have been warmed in a hot water bath by pouring it over the whisk and folding it in. Do this step quickly as well, and make absolutely sure not to stir it around.
- 8
Pour the batter into the pan. Don't pour it in the center, but move the bowl back and forth, and even it out. Finally, if you spot any bits of butter than have not been mixed in, be absolutely sure not to place them into the center. Add them in around the edges of the pan or don't add them in even though it may seem like a waste.

- 9
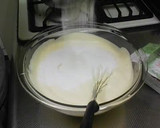
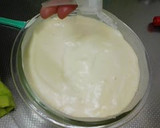
In order to even out the surface of the batter, and make the bubbles inside uniform, it's often recommend to tap the bottom of the pan to shock them, but do not ever do this. Mist the surface of the batter instead; this moisture will level out the surface. This is the fourth key point.
- 10
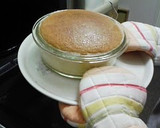
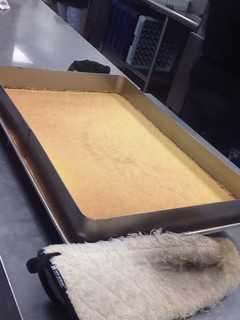
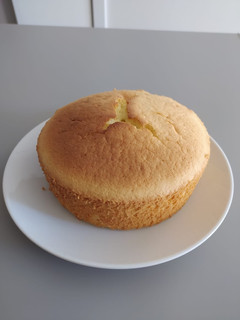
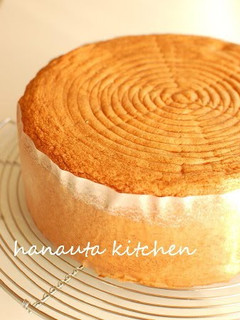
Bake for 20 minutes at 170 °C and 10 minutes at 160 °C. Please adjust the baking time according to your household oven, and it is done. Drop the cake while still in the pan from a height of about 30cm. It will shock the cake, remove the heat from the center of the cake all at once by exchanging the air, and keep it from shrinking
- 11
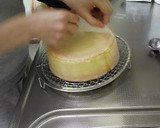
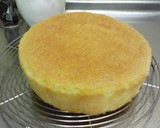
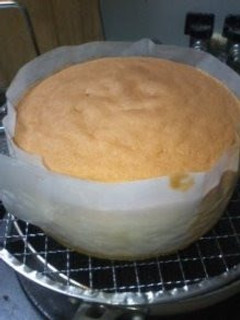
After removing it from the pan, please remove the paper. This is the paper on the bottom of the cake. It's convenient to have a cheap round grill (the type used for grilling mochi cakes) bought from a 100 yen shop to flip out the cake on to. After flipping the cake upside down, flip it over right side up, and leave to cool.
- 12
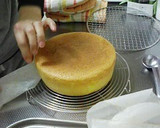
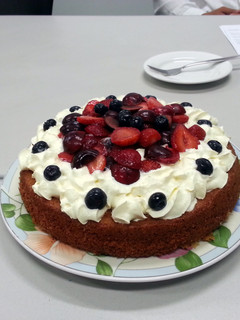
Peel off the paper on the sides of the cake cleanly at this point as well. Let it sit as-is until the residual heat subsides naturally, and then put into a plastic bag after it has cooled to keep it from drying out. The sponge will settle and improve if you leave it for a day before decorating it, so make it the day before you plan to serve it.
- 13
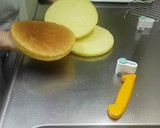
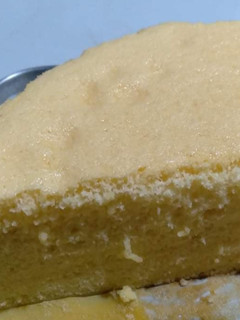
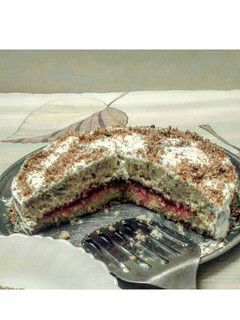
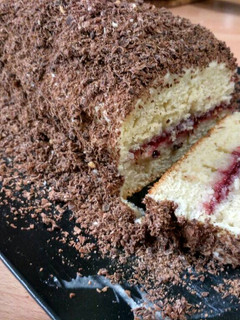
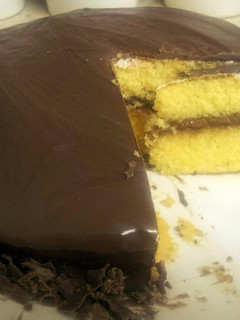
I cut it cleanly into three slices. I used a tool called a sponge cake slicer. If you don't have one stick toothpicks into the sponge in four different locations, and use those as a guide, and you can slice the cake nicely.
- 14
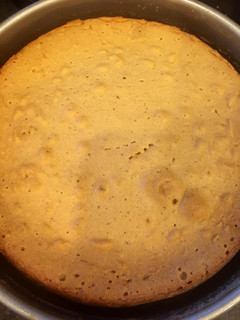
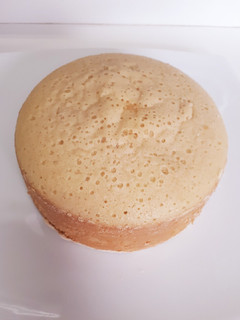
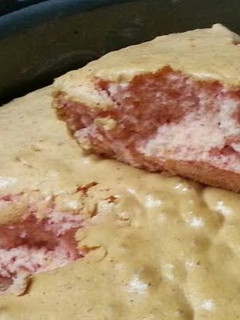
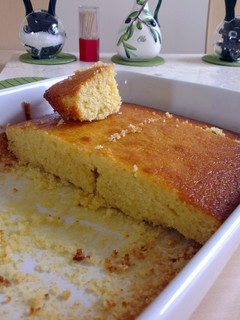
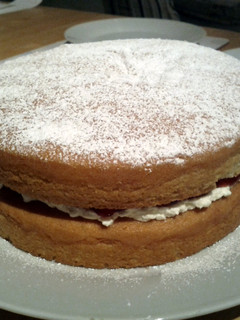
This one is made with with 10g less sugar and 19g less flour. The egg foam didn't have a lot of oomph, and didn't hold up well to cutting, so this just sank down while retaining its fluffy texture.
- 15
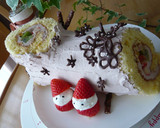
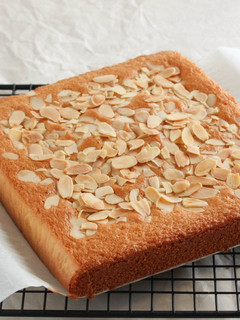
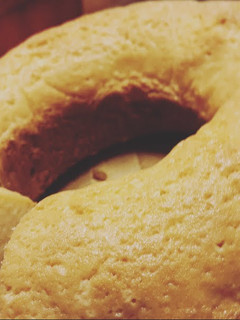
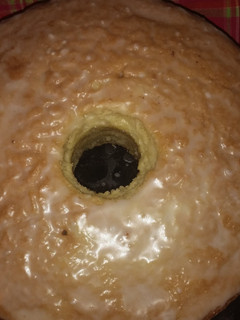
The sugar not only effects the sweetness, but also effects the whipped egg. This recipe has already reduced the sugar to the bare amount. Changing it even a little will be a cause for failure. If you are afraid the cake will have problems, bake it in a square flat sponge cake pan, and turn it into a rolled cake (using 60g flour, 49g sugar, and 3 eggs).
- 16
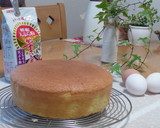
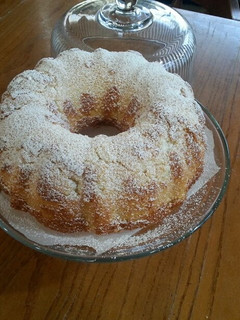
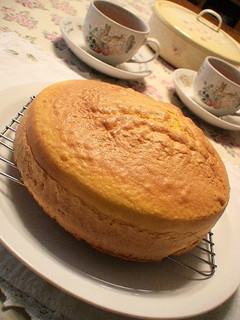
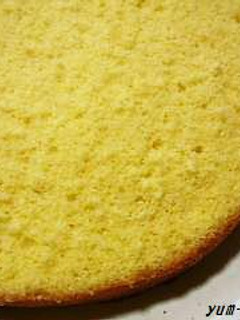
I exchanged 1/3 of the flour for tempura flour (which contains dried egg), to make the cake more golden yellow. It turned into a very soft sponge cake. If you use 100% tempura batter the cake will be very tender, and is probably too delicate to support the weight of any decorations on top. It may be okay if you make the cake one size smaller.
- 17
■Attention: ■ Regarding the beating times indicated for the egg, please note that they are just a guideline. Make sure that you do not beat it as stiff as you would an egg white meringue, or the sponge will be very dry. You can also try beating the egg at room temperature rather than held over a hot water bath. The baking time is also approximate, please adjust it depending on your oven, observing how well or fast the cake is baking.
Reactions
Cooksnaps
Did you make this recipe? Share a picture of your creation!

Written by
Similar Recipes
Sponge Cake
Sponge Cake

Sponge Cake
Sponge Cake
Sponge Cake
Sponge Cake
Sponge Cake
Sponge Cake
Sponge Cake
Sponge cake
Sponge cake
Sponge cake
Fluffy Sponge Cake
Chocolate Sponge Cake
Basic sponge cake
Pink Sponge Cake

easy sponge cake
Plain sponge cake
Greek Sponge Cake
Vanilla Sponge Cake
18-cm Sponge Cake
Butter sponge cake
simple easy sponge cake
Victoria Sponge Cake

Moist and Fluffy Sponge Cake

Victoria Sponge Cake
Victoria Sponge Cake
Lemon Sponge Cake
Strawberry sponge cake

Comments