

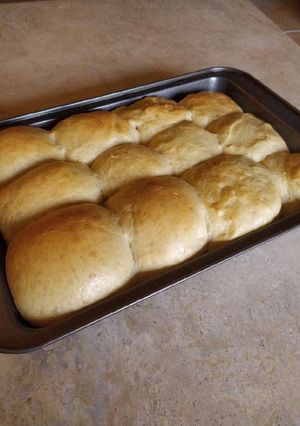
Simple buns

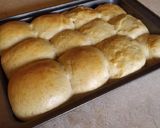
These buns are simple to make and have many uses. Use them as a side for a dish, as a burger bun, or for a sandwich. Also the picture demonstrates the difference between using the "roll and tuck under" technique and just rolling the buns. The roll and tuck buns are the 6 on the left and have smooth beautiful tops while the untucked buns have a rough top. They're both delicious and just have a difference in appearance.
Simple buns
These buns are simple to make and have many uses. Use them as a side for a dish, as a burger bun, or for a sandwich. Also the picture demonstrates the difference between using the "roll and tuck under" technique and just rolling the buns. The roll and tuck buns are the 6 on the left and have smooth beautiful tops while the untucked buns have a rough top. They're both delicious and just have a difference in appearance.
 Open in Cookpad App
Steps
- 1
Mix 1/2 total flour, yeast, sugar, salt in mixing bowl.
- 2
In another bowl add the milk, water, oil, and heat to lukewarm.
- 3
Make a well in the dry ingredients and pour the wet ingredients and mix until smooth.
- 4
Add your flour gradually and mix until you have a soft smooth dough, it will take about another 2 to 3 cups of flour to get there. If it's too sticky for you add more flour.
- 5
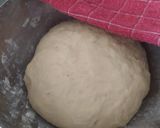
I knead the dough for about 8 minutes by hand and then keep it in a bowl to rise for about 45 minutes. Cover the bowl with a damp towel
- 6
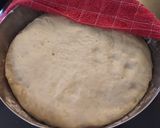
Once the dough has risen, flour a surface and divide the dough into 12 balls.
- 7
Grease a baking pan and preheat your oven to 200'C.
- 8
Shape your dough into a ball by rolling it between both your palms. You'll get a rough ball shape. To tuck the ball, cradle the ball in both your palms with your palms facing up with your thumbs sitting on top of the dough. Push into the bottom of the ball with your fingers and spread the top using your thumbs. You'll see the top of the bun stretch and become smooth.
- 9
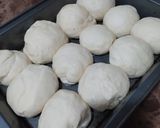
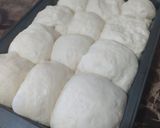
Arrange your buns into the baking tin and let sit for about 10 minutes. They should puff up once more. Once they have proofed again, you should brush the tops of the buns with either egg wash, butter or milk, depending on what your bun is for, it'll give it a nice colour and flavour.
- 10
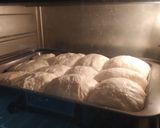
Put the tray into the oven for 15 minutes at a time at 200'C. After the first 15 minutes I rotate the tray a 180 degrees and cook for another 15 minutes.
- 11
Depending on your oven, they should be done or close to done by now, if the tops are to your liking then you can remove them now. If not, bake for another 10 minutes maximum. Keep checking your buns at this point. When bread is first baked and hot the top will be hard naturally, once it cools down a bit it'll become softer as a bun should be.
- 12
Enjoy your buns!
Cooksnaps
Similar Recipes
More Recipes
-

-

-

-

-

-

-

-

-
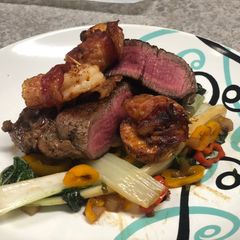
Filet Mignon w/ Bacon-wrapped Shrimp over Spiced Bok Choy

-

-

-
 Priya Daryani
 -

-
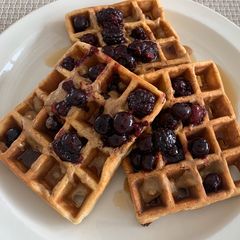
Fiber Waffles (with wheat bran, eggs)

-

-


-
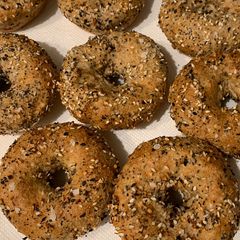
Fiber Everything Bagels - multi batch
-

-

-








Comments